Description
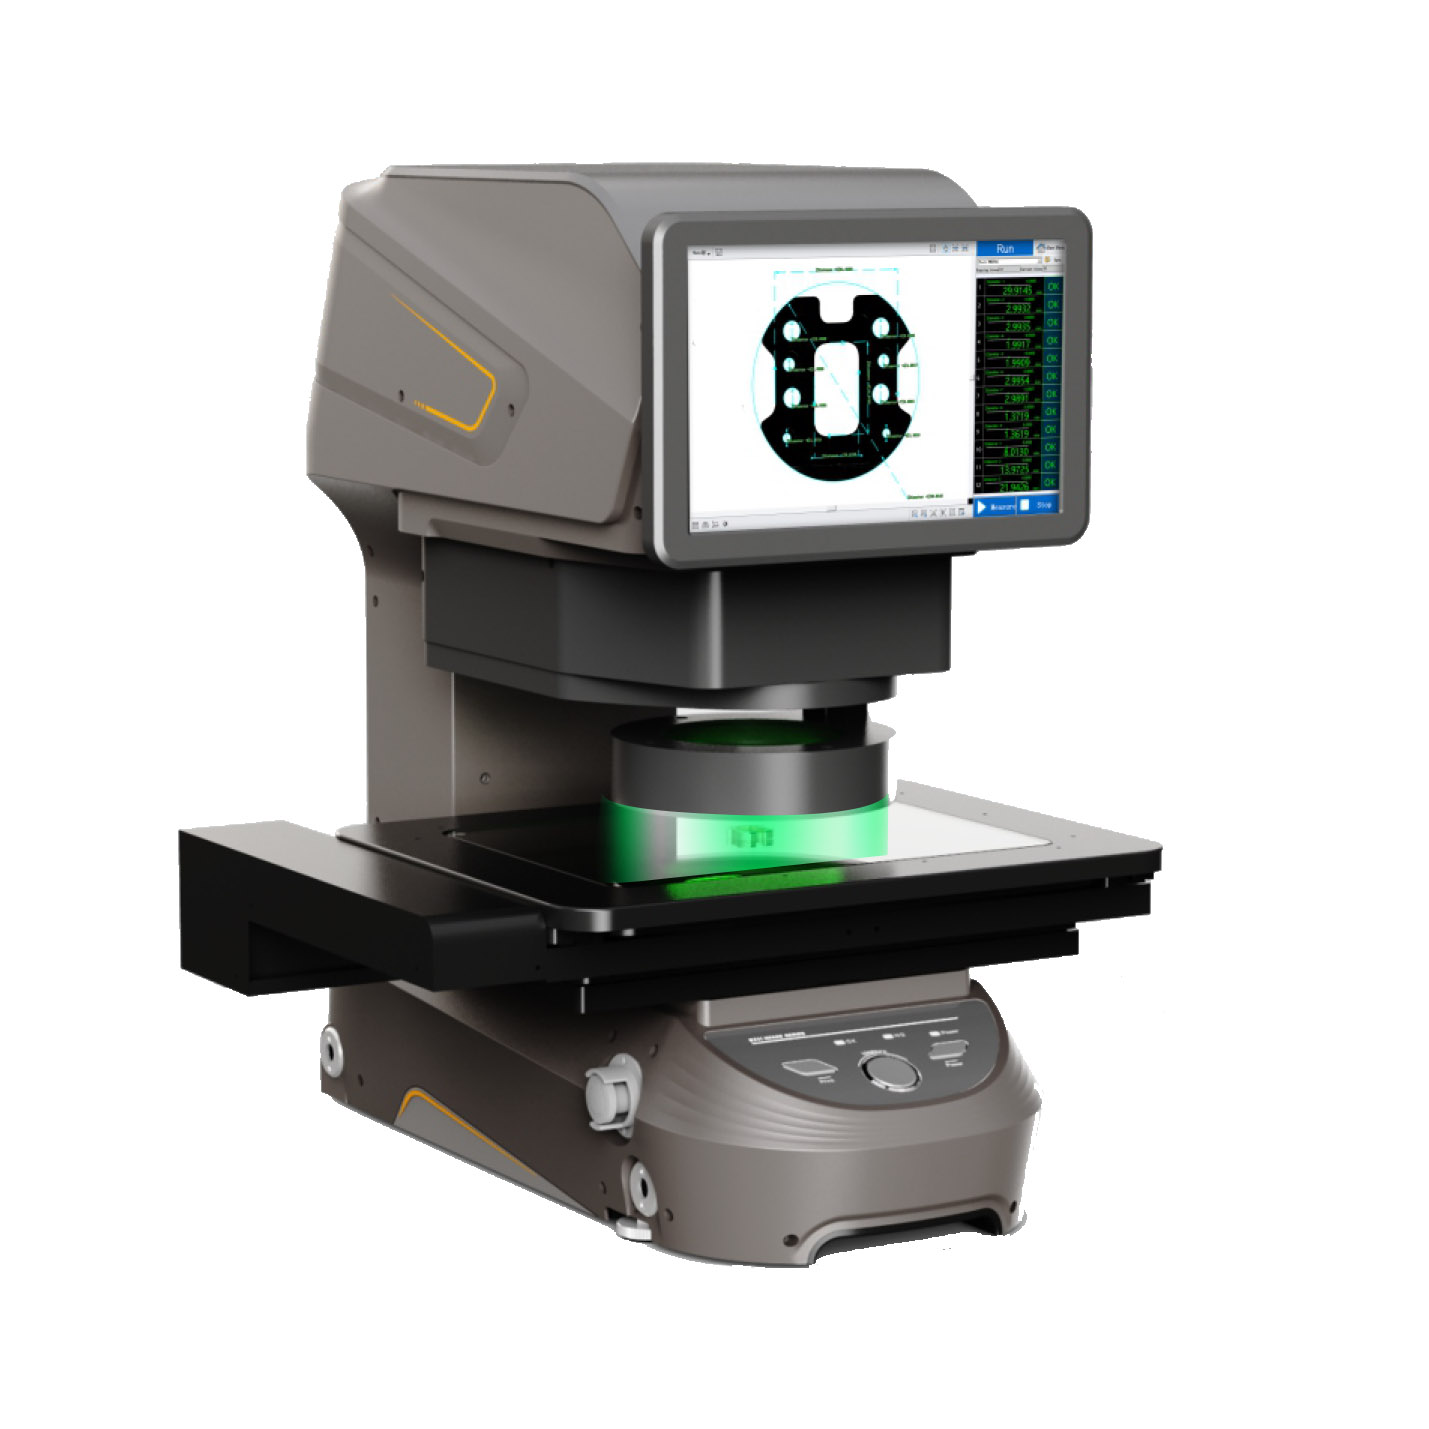
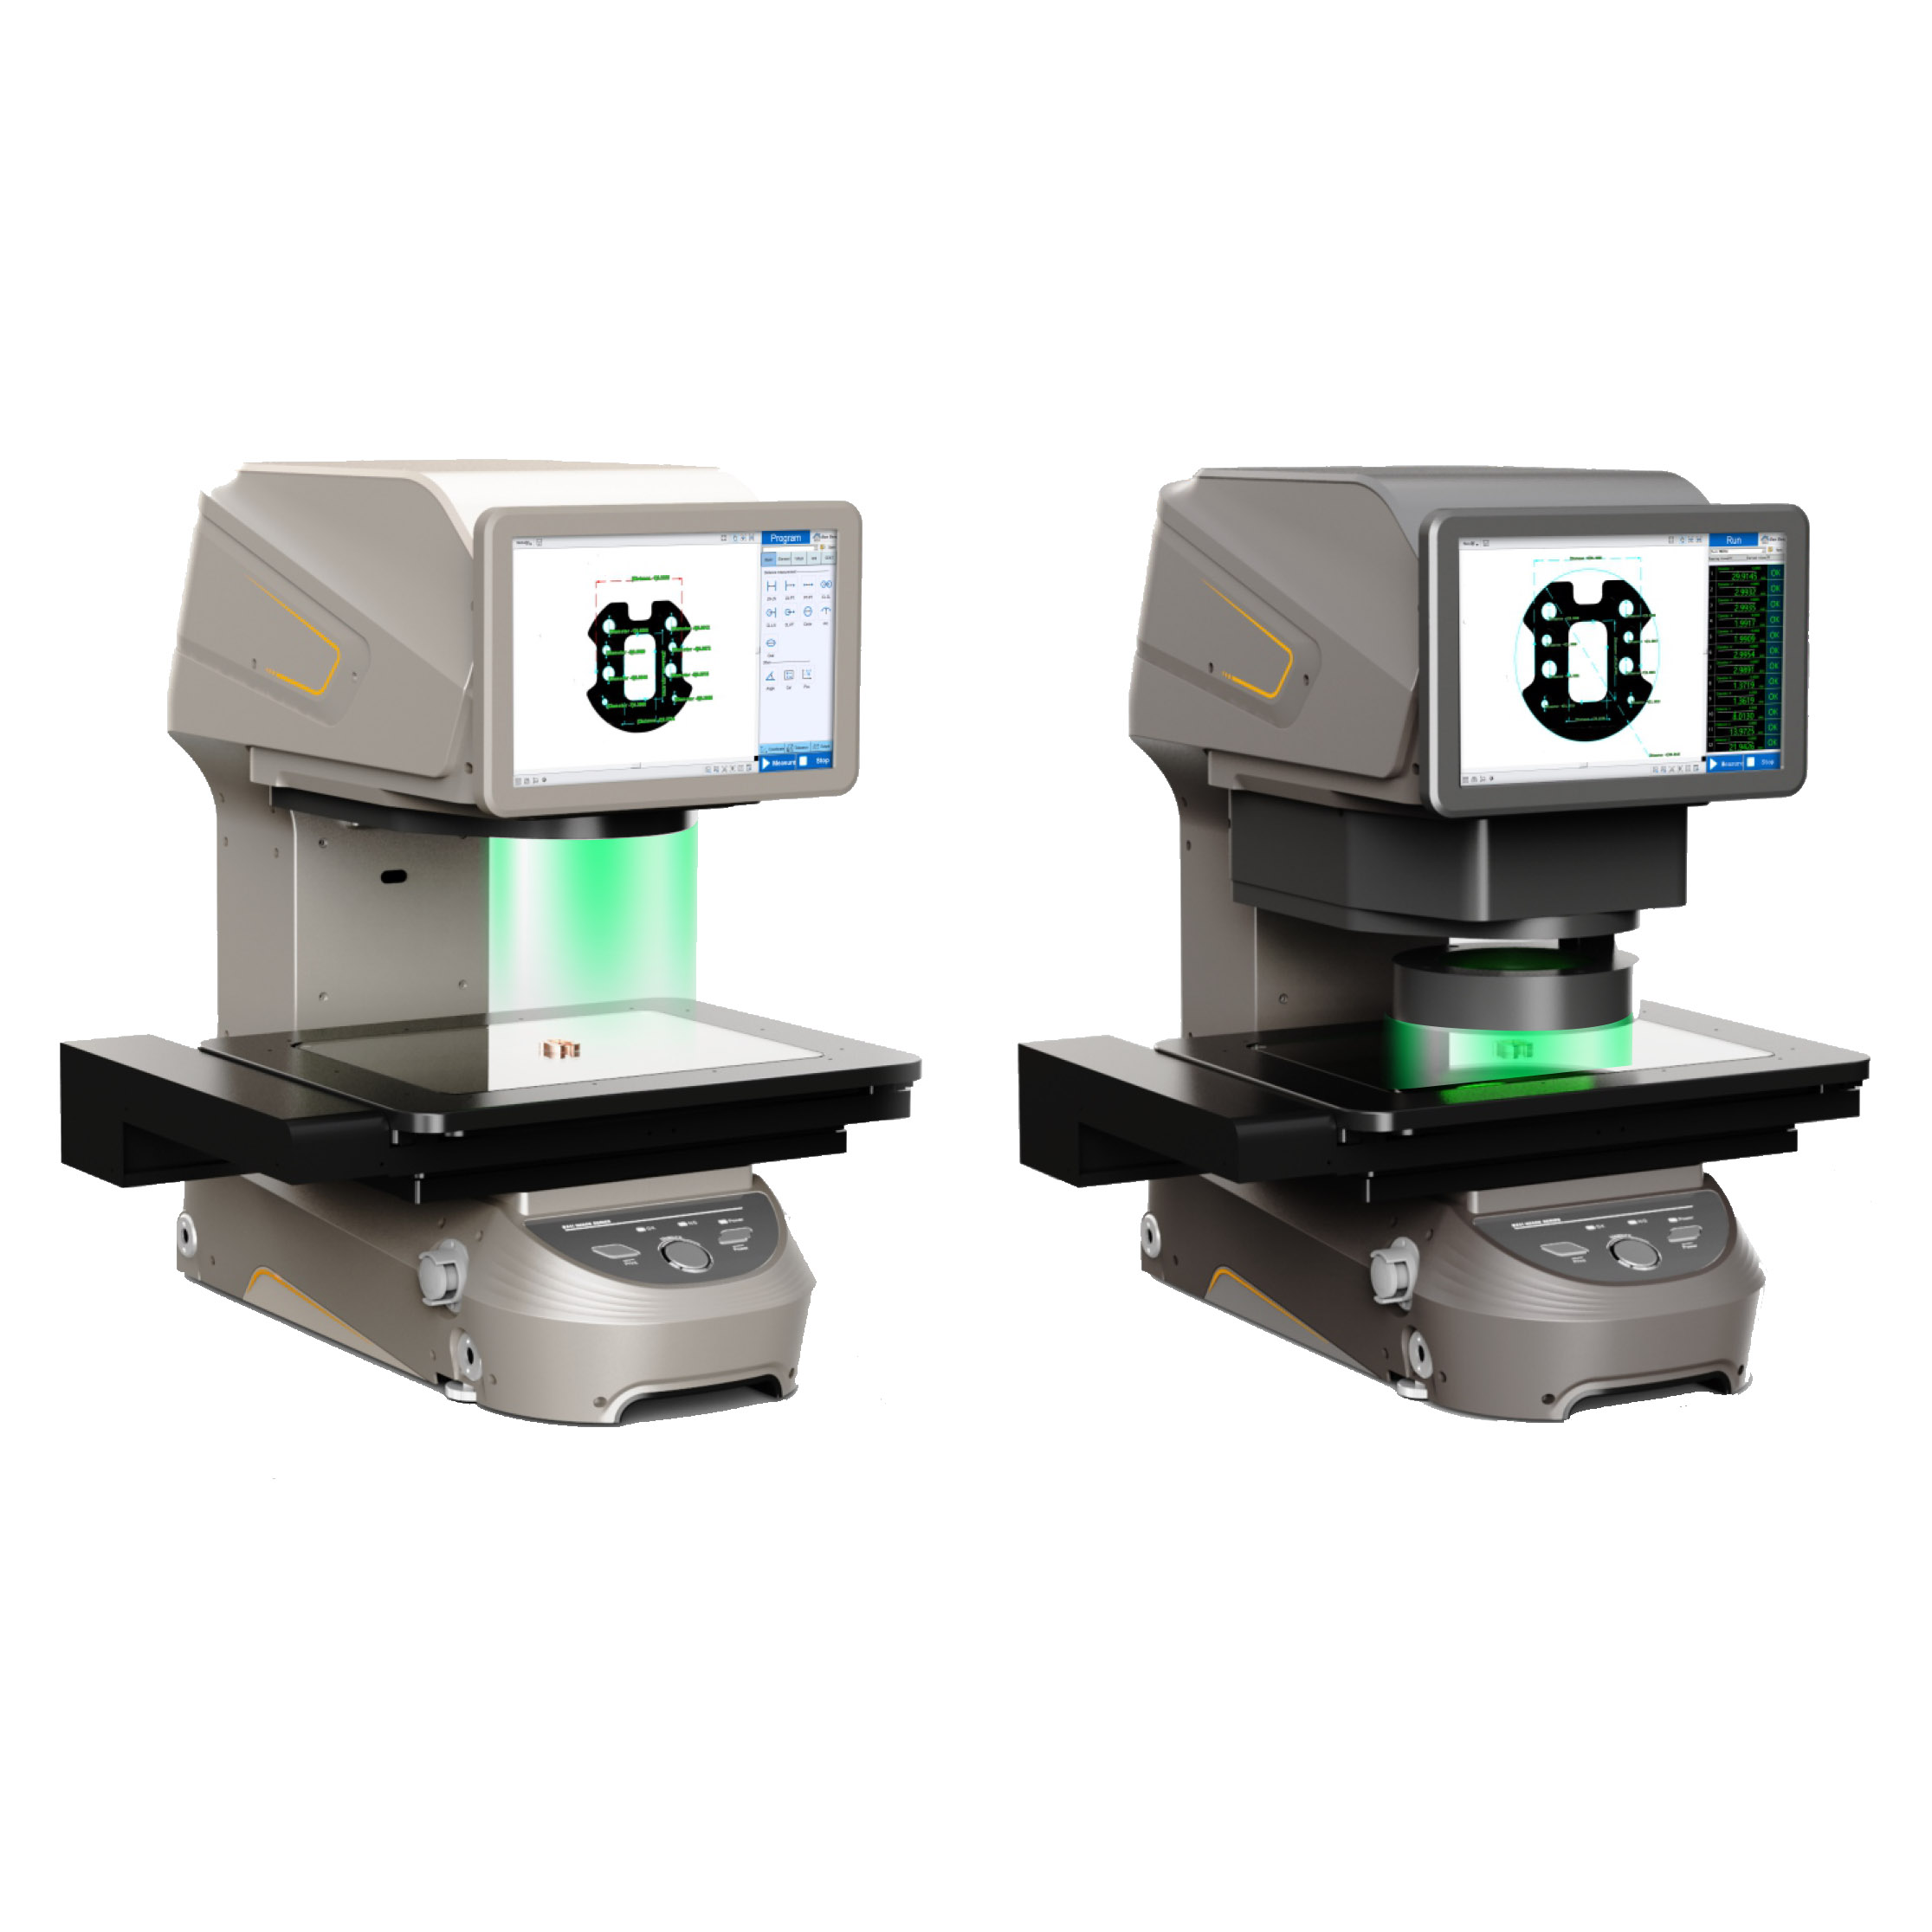
1. Maximum Support 300x200mm Field of View Range
2. Just press one button to complete various measurements
3. Movement Measurement Platform
4. Both Large and Small Field of View
5. Rapid measurement of large field of view, hight-precision measurement of small field of view, measurement accuracy up to 1um.
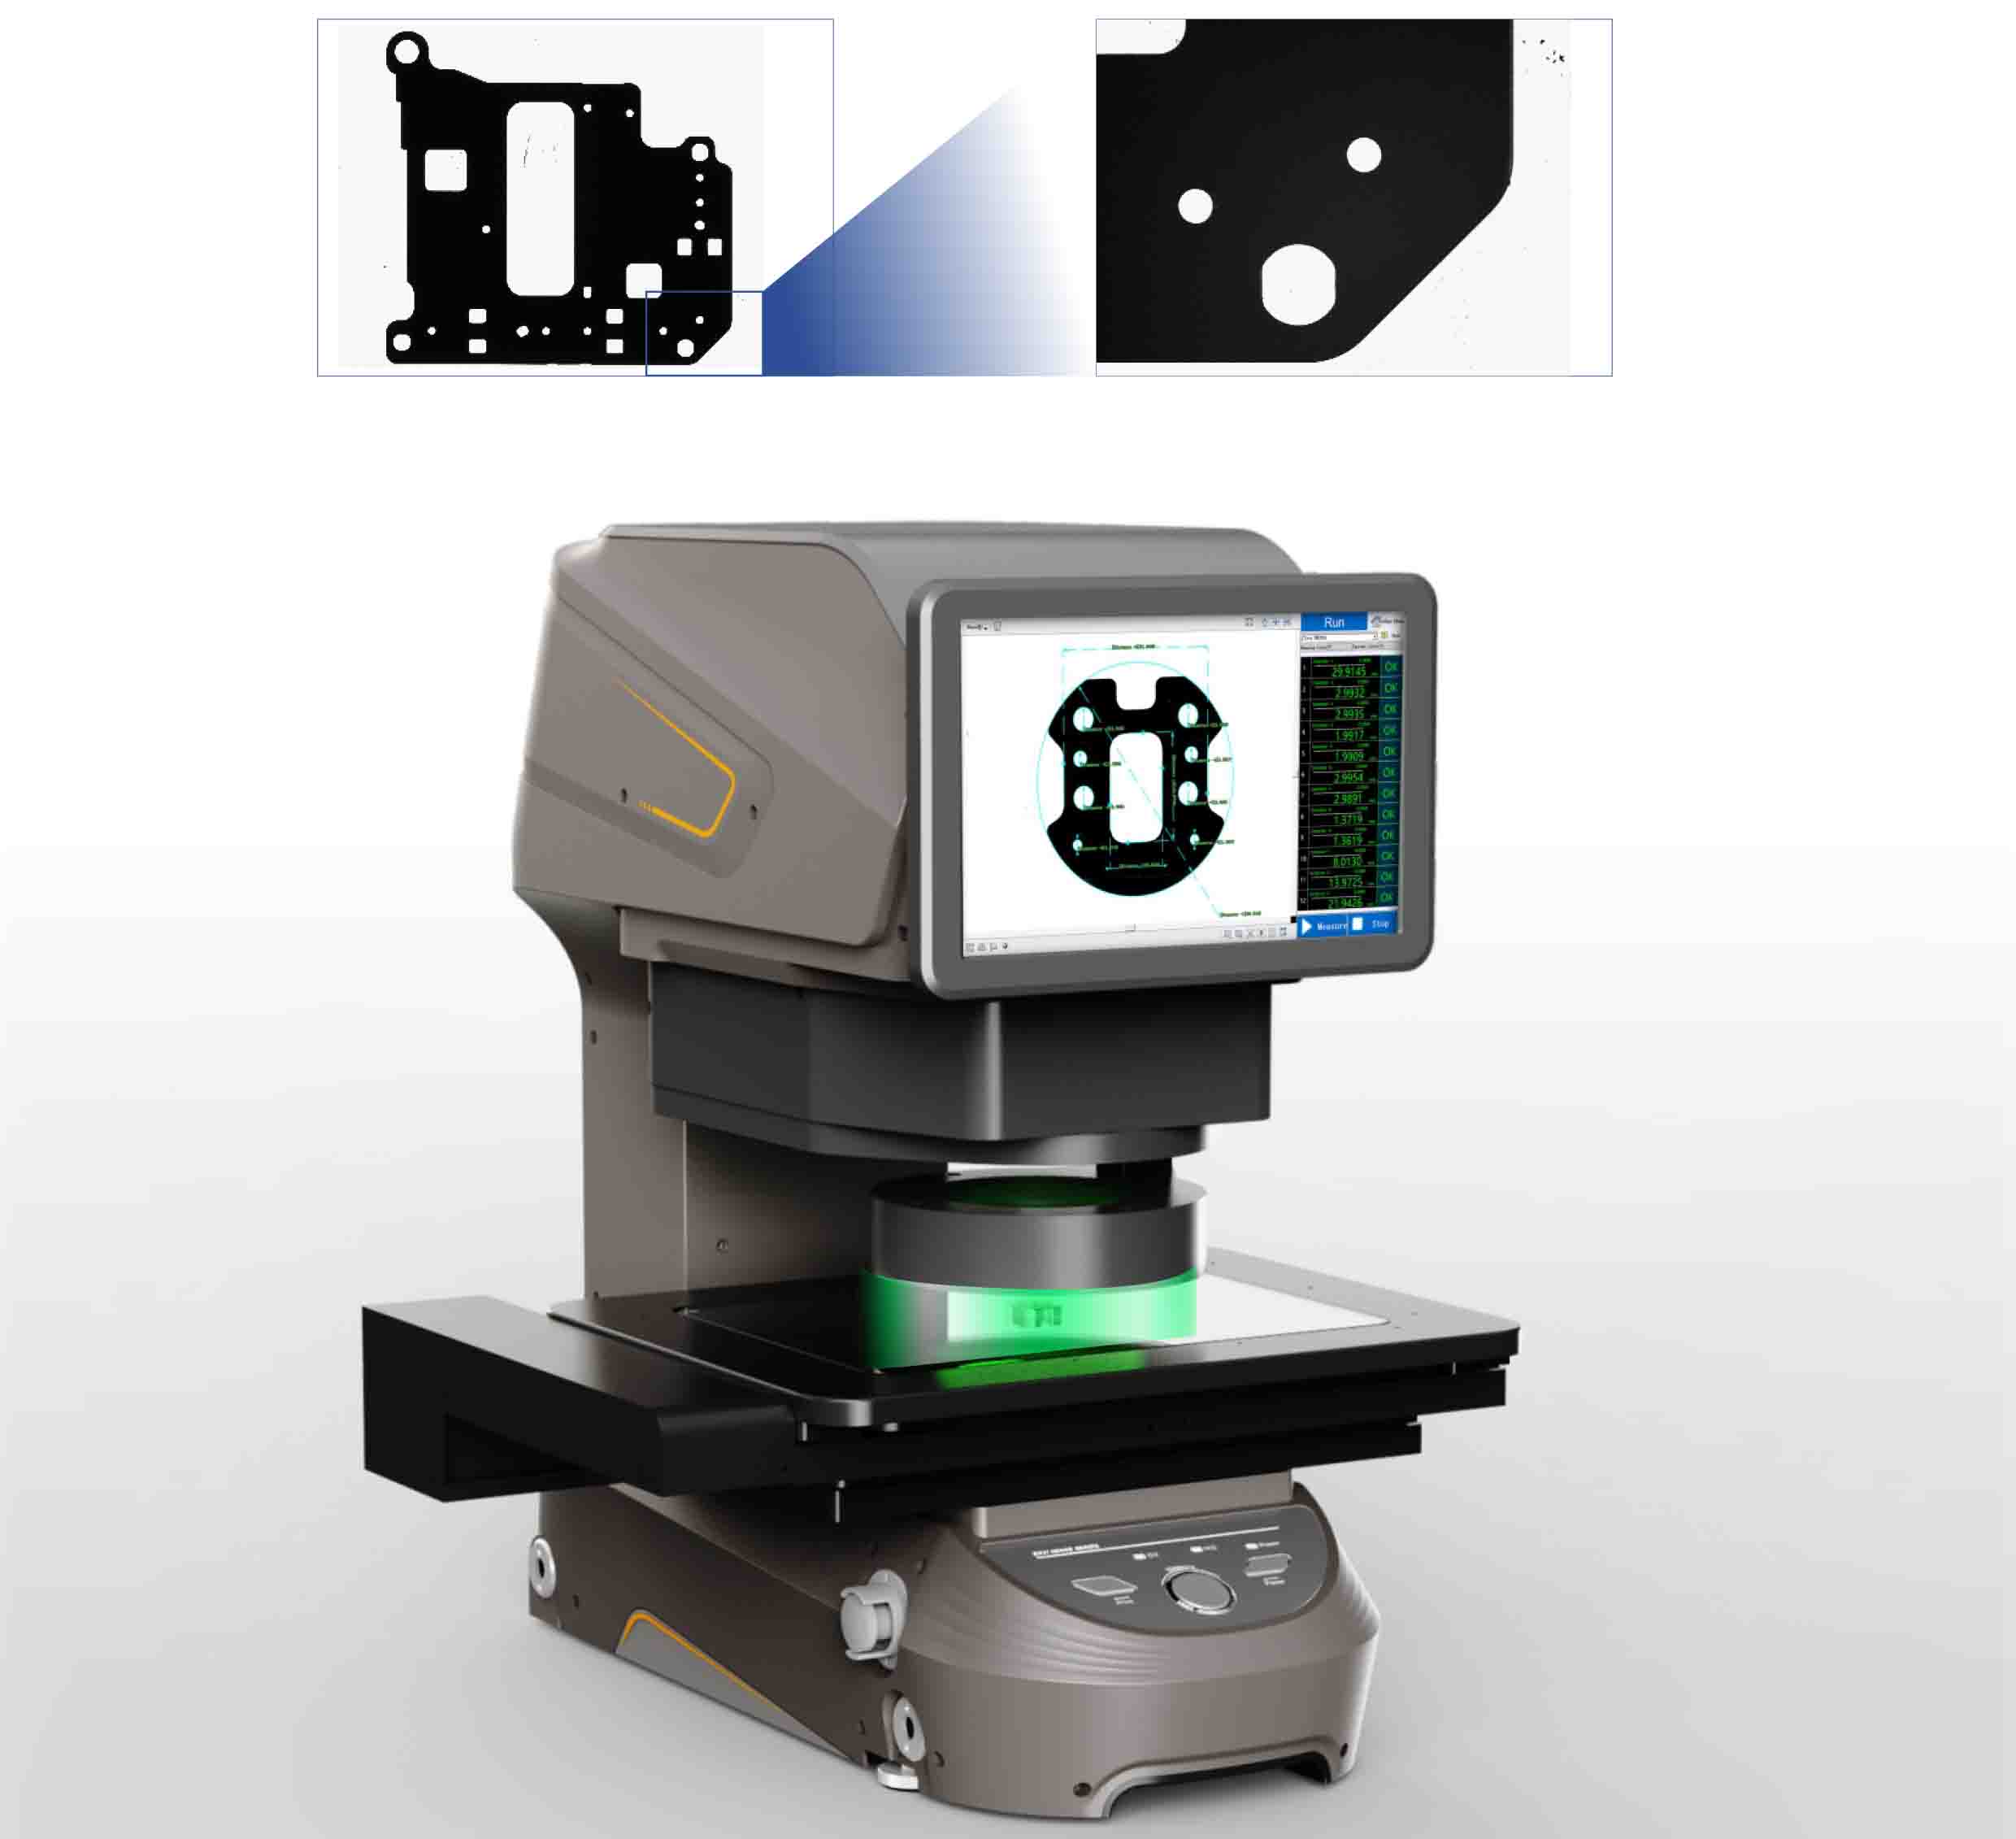
IMAGE-3 Series Image Dimension Measurement System Introduced Into The Automated Production Line
Solve The Common Problems Of Dimension Measurement
1. Fast
– 100 parts of measurement in 1 second, greatly reducing the measurement time.
– Reports can be automatically uploaded to the customer data management system.
– With auto focus, auto positioning and auto measurement functions, anyone can get consistent and stable measuring results.
2. Accurate
– Double telecentric lens with two 20MP cameras and automatic lifting multi-angle surface light and surface coaxial light
– Powerful AI edge computing algorithm, easily realize precise edge finding on the surface, and filter the invalid area of boundary noise.
– Achieve high-precision measurement of surface dimensions, and the measurement repeatability of surface light can reach the same level as that bottom light
3. Simple
– Simple software operation interface, easy programing and report parameter setting.
– One tap measure, an also be used with customer IO signal to realize automatic measurement.
– Desktop structure, small size, convenient handling, suitable for rapid online and offline dimension measurement.
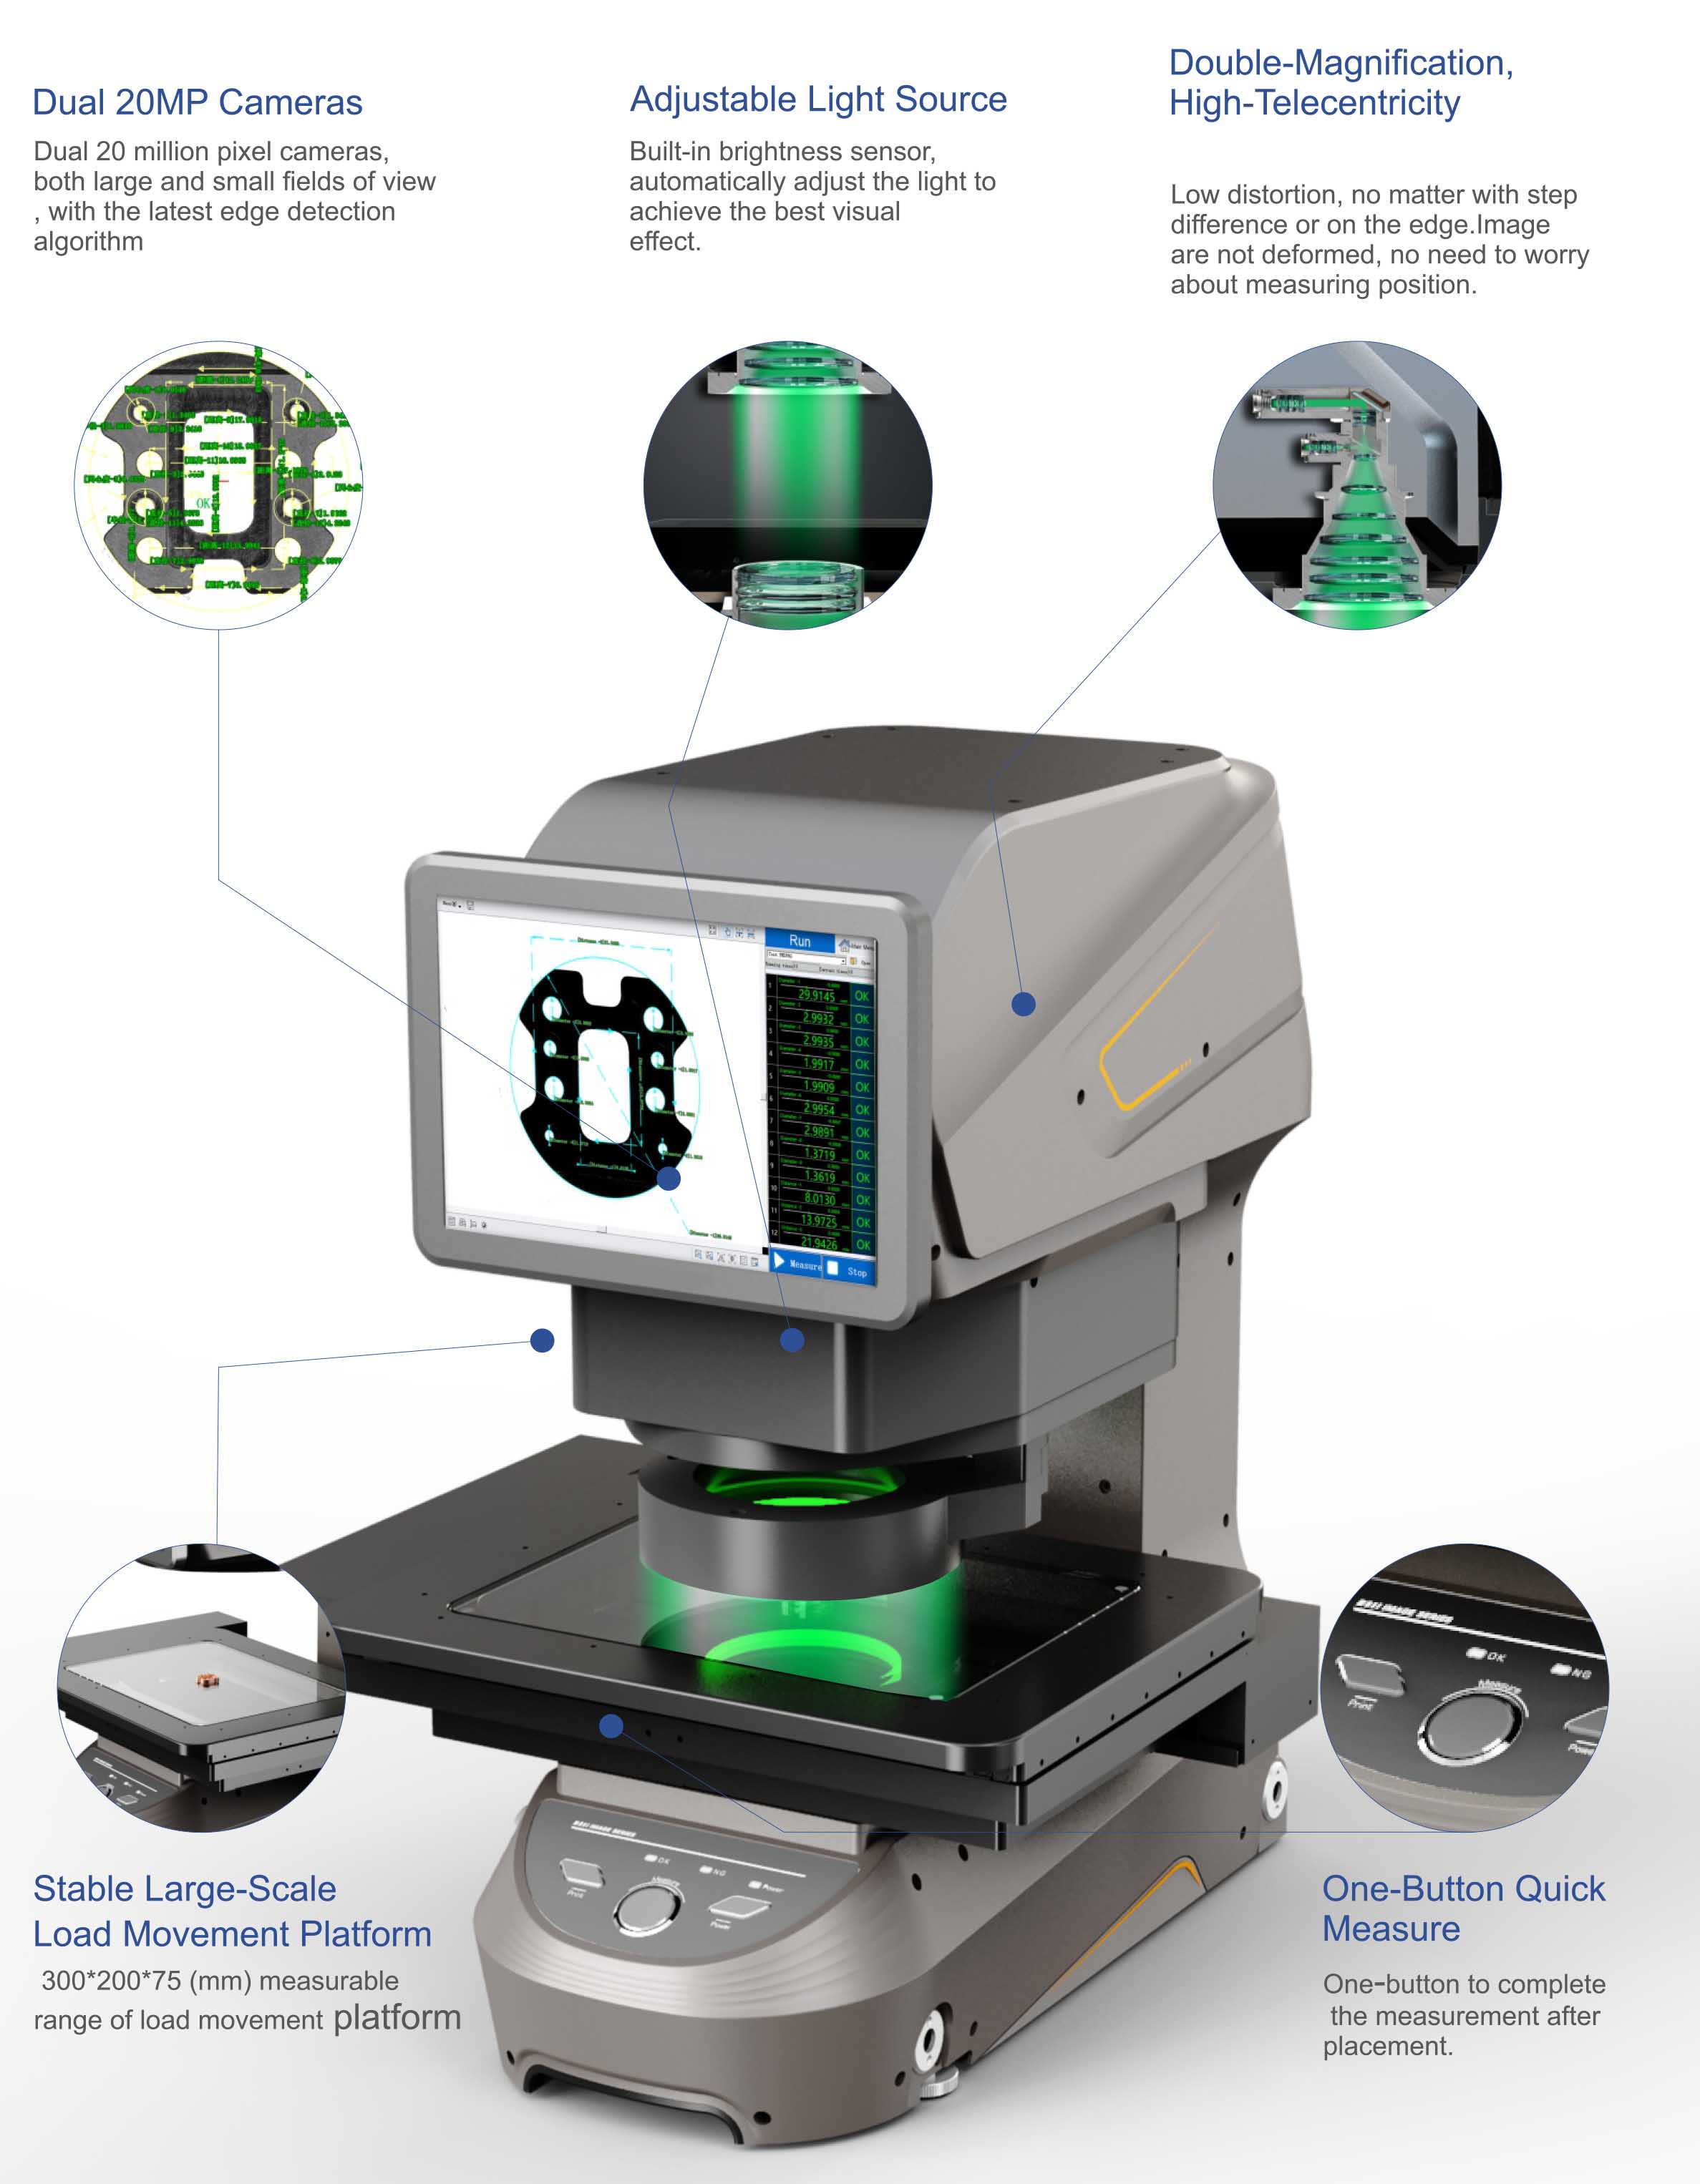
Light And Convenient
One-tap start measuring after product placement
Desktop Structure
Small and exquisite shape, desktop structure, easy to carry, can adapt to various environments
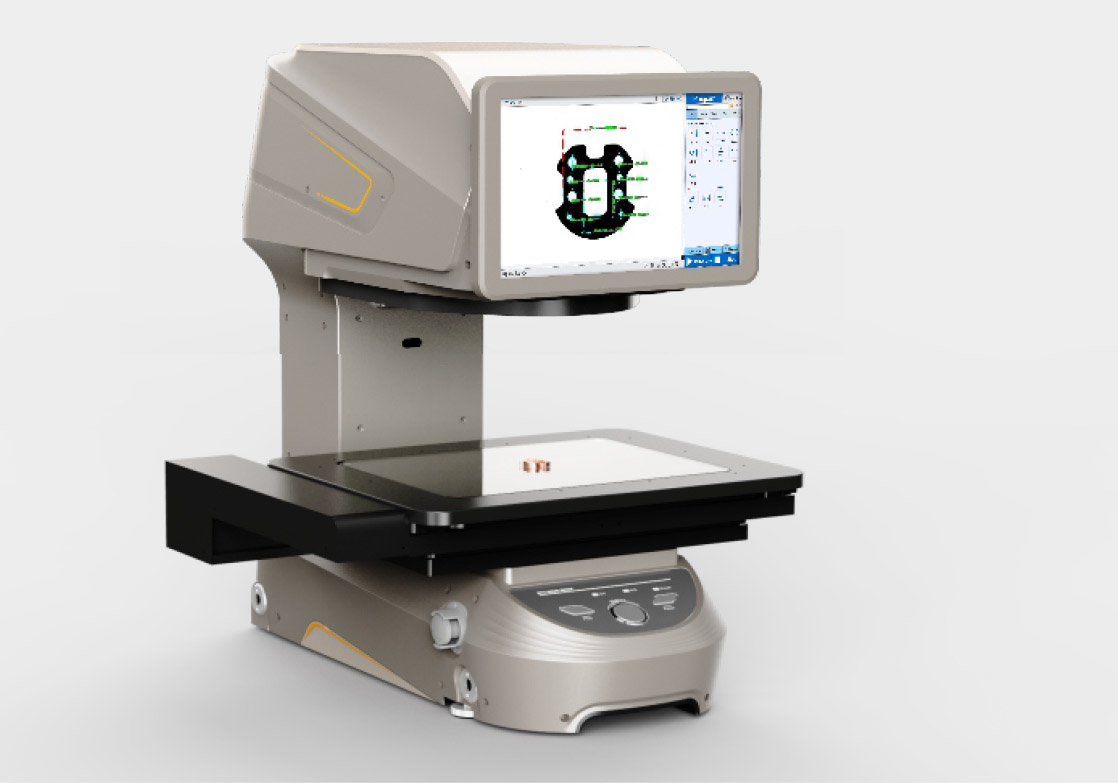
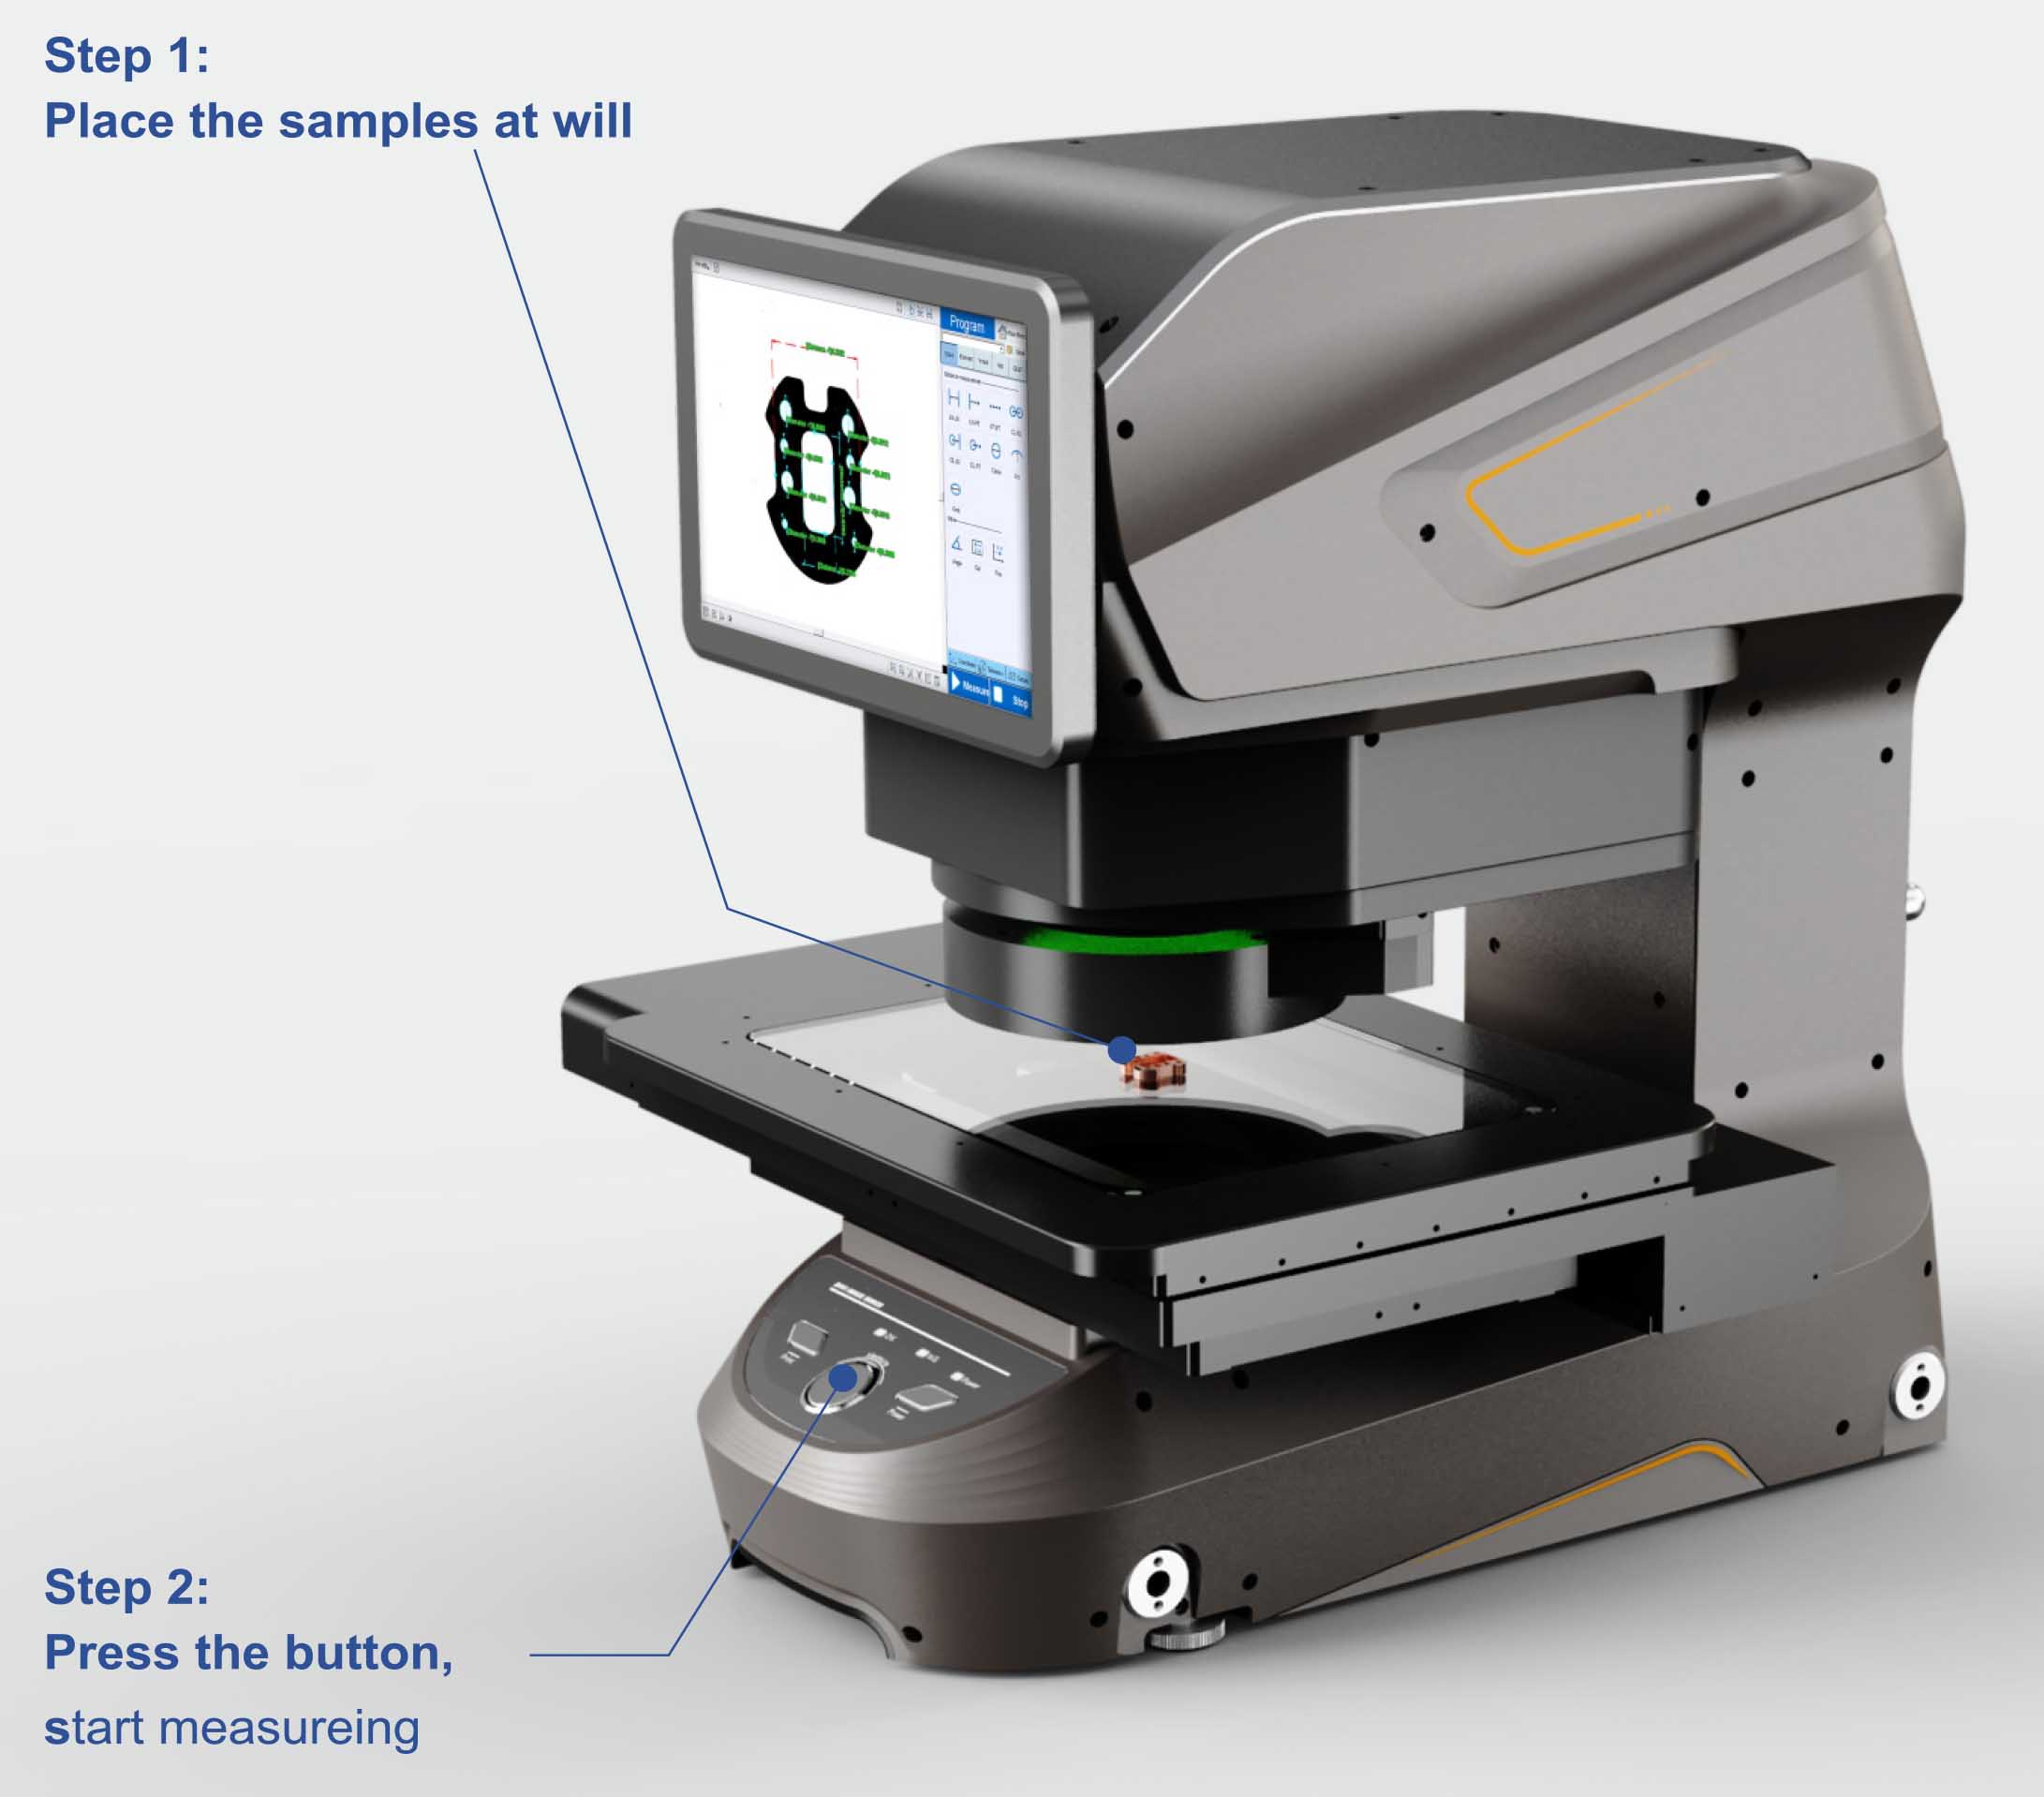
One-button star measuring after product placement
Through the positioning function, automatically recognized the product position and direction. Achieve randomly place product on the platform and press one button to complete measurement. Also, can be equipped with customer 10 signal to realize automatic measurement.
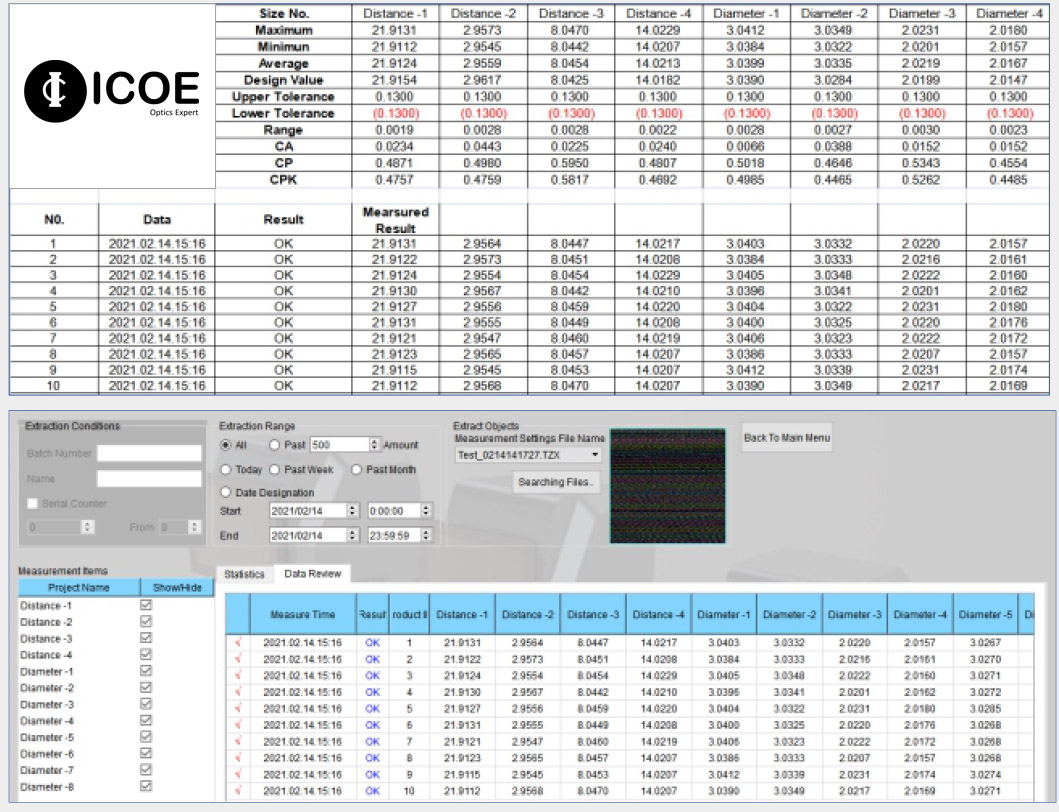
Personalization Report Output
Summary include Test reports and statistical reports , without tedious processes such as data transmission and computer input. Multiple formats available.
It can also be automatically uploaded to the customer data management system.
Powerful Hardware Combination
High-precision Dimension Measurement of Surface Light
Double telecentric lens with two 20 million pixel cameras and automatic lifting multi-angle surface light and customized surface coaxial light, with independent powerful AI edge computing algorithm, it can easily realize precise edge finding, and filter the invalid area of boundary noise. Achieve high-precision measurement of surface dimensions, and the measurement repeatability of surface light can reach the same level as bottom light.
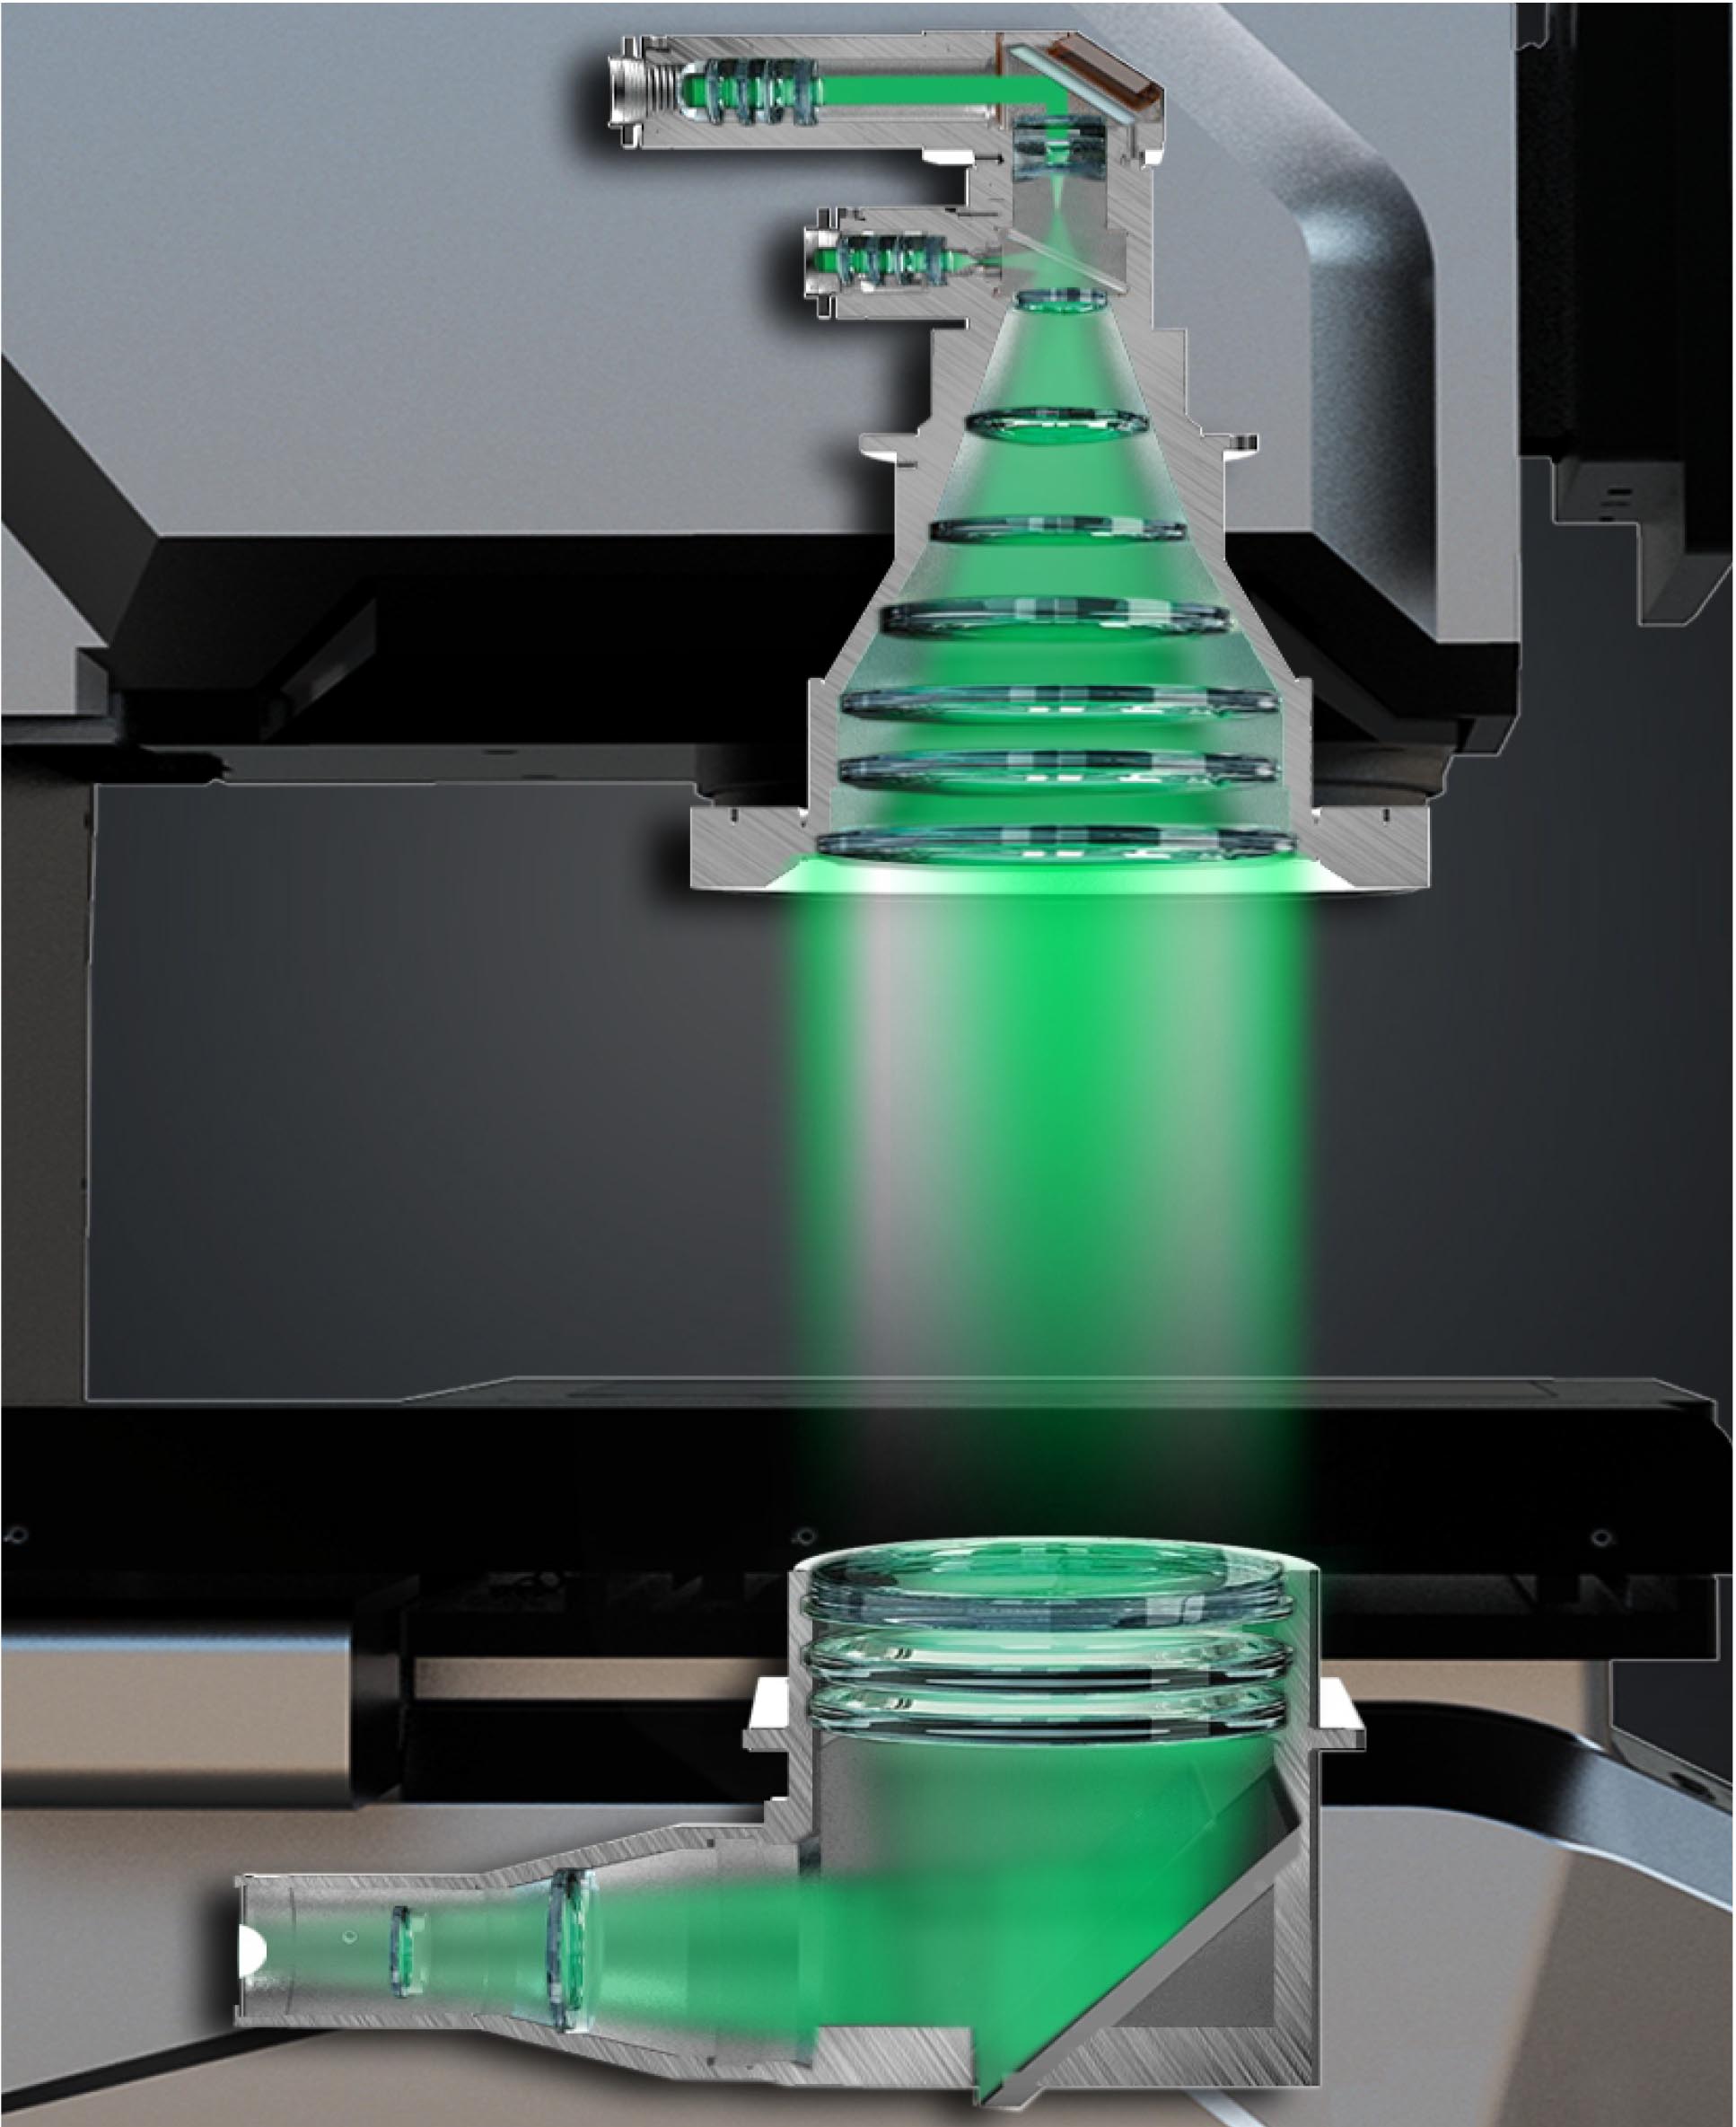
Double-Magnification Double-sided Telecentric Lens
Dual-telecentric lens has a high telecentricity, even segment gap is exist. Low distortion, even at the edge of the lens, the image will not be deformed. No worry about product location on the platform.

The 20 Million Pixel High-precision CCD Camera Has Been Significantly Improved The Detection Performance
Using a 1-inch 20-megapixel black-and-white camera, number of pixels increased twice of the traditional model. Tiny edges can also be observed. High-precision camera and wide-field camera switching, to achieve high-precision and wide measurement. Shorten the measurement time while improving accuracy.

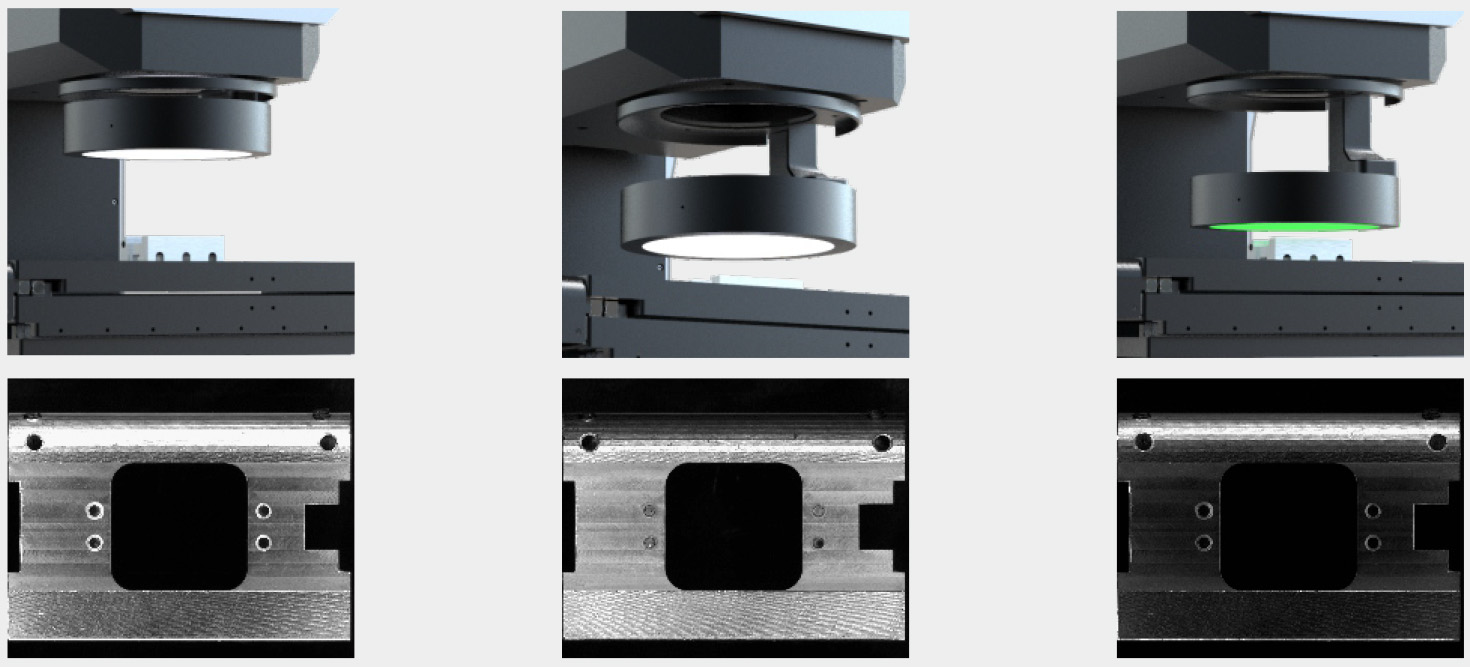
Adjustable Light Source Get Image With Accurate Edges According To The Best Lighting Conditions
Multiple lighting units are assembled into one (liftable mutiple-angle surface light).
Light automatic adjustment function within software, which automatically adjusts to the best lighting conditions for different ambient light sources through the built-in brightness sensor.
Efficient And Simple Fast
Measurement And Simple Software Operation
Fast system measurement speed, 100 parts dimension measured in 1 second.Simple user interface design and easy to understand. Easy measurement programing and report parameter setting. Any operator can obtain consistent and stable measuring result.
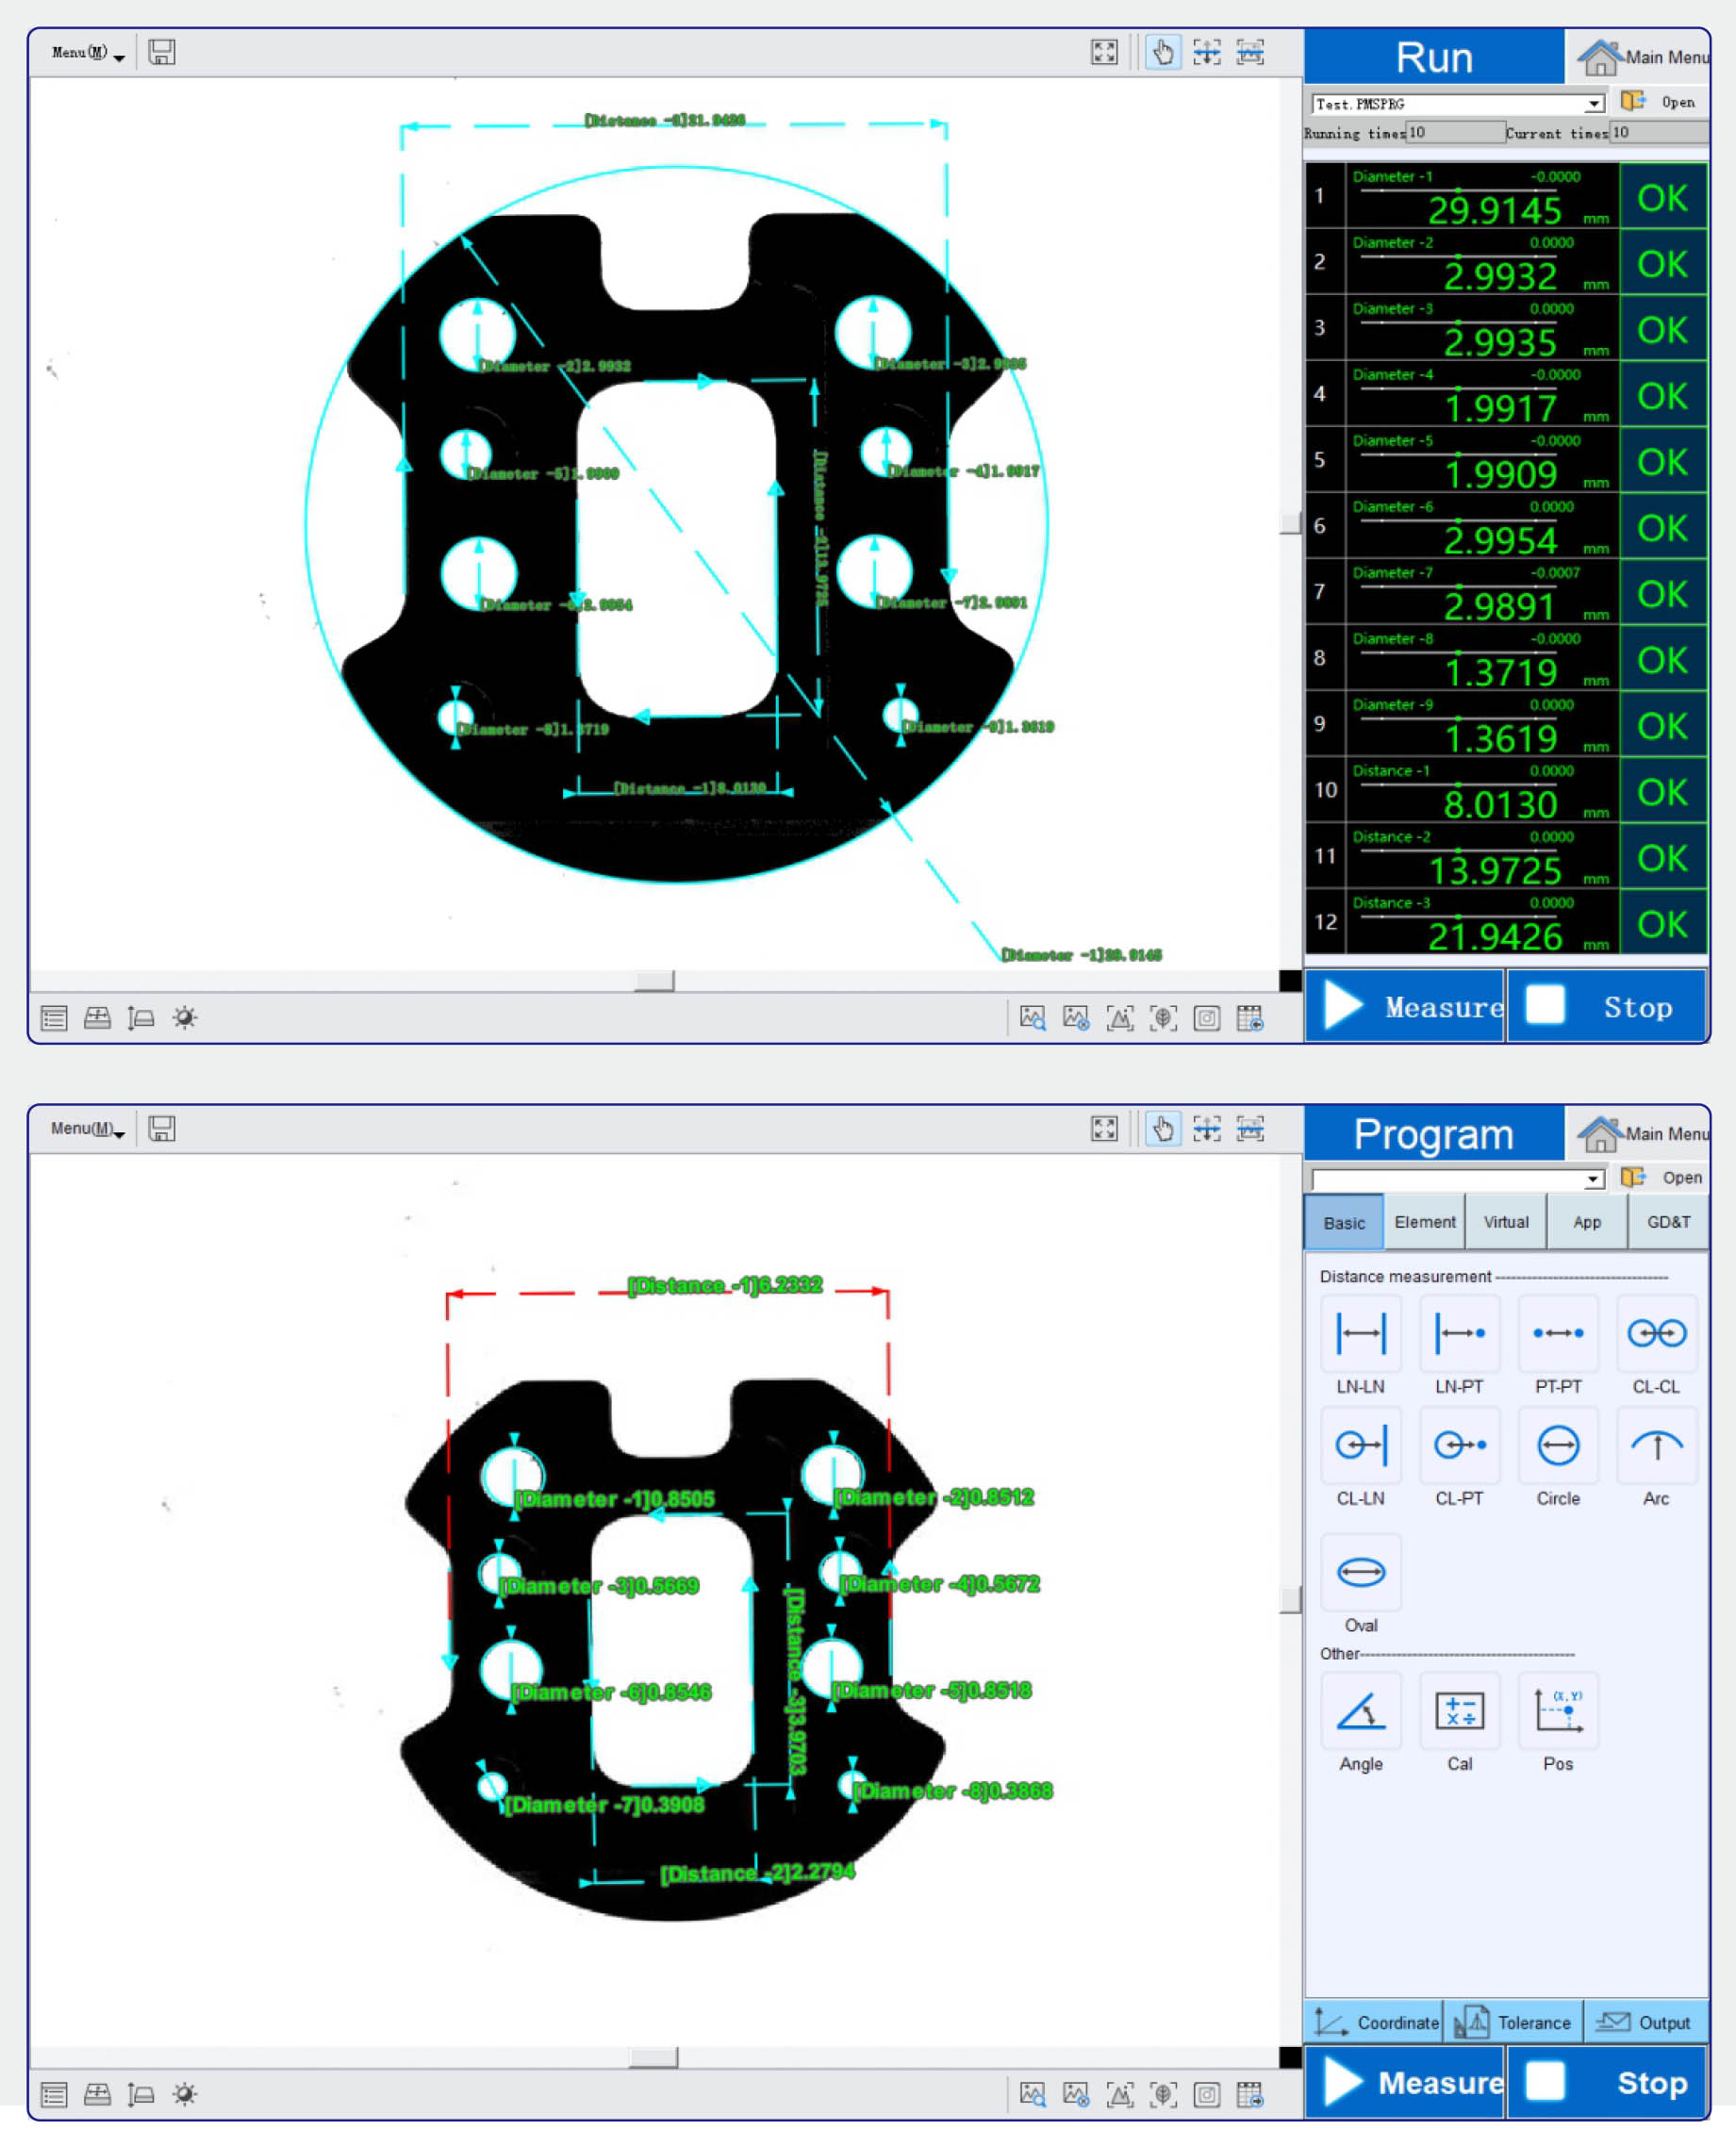
Automatic Identification, Simultaneous Measurement, Integrated Imaging Greatly Shortens The Measurement Time
Automatically identify the position and direction of the product, completed measurement with only one button after placement. Product can be placed at will, multiple products to be measured at the same time.The large field of view of 300*200mm provides one-time overall imaging, even if the measurement position is increased, it will not decreased measurement time. Greatly reduce measurement time and improve measurement efficiency.

Simple Software Operation Interface, Easy To Use, No Training Required
The software function is simple and easy to understand, main function within process steps guide and explanation. Operator can easily complete the product measurement program setting according to the description of each function.

Anyone Can Obtain Consistent And Stable Measuring Results
Through built-in brightness sensor automatically adjusts the light according to the ambient brightness, eliminating artificial dimming errors. The autofocus function and edge invalid points, automatic filtering functions eliminate errors caused by different artificial focus and invalid parts of the product edge. Anyone can obtain consistent and stable measuring results.

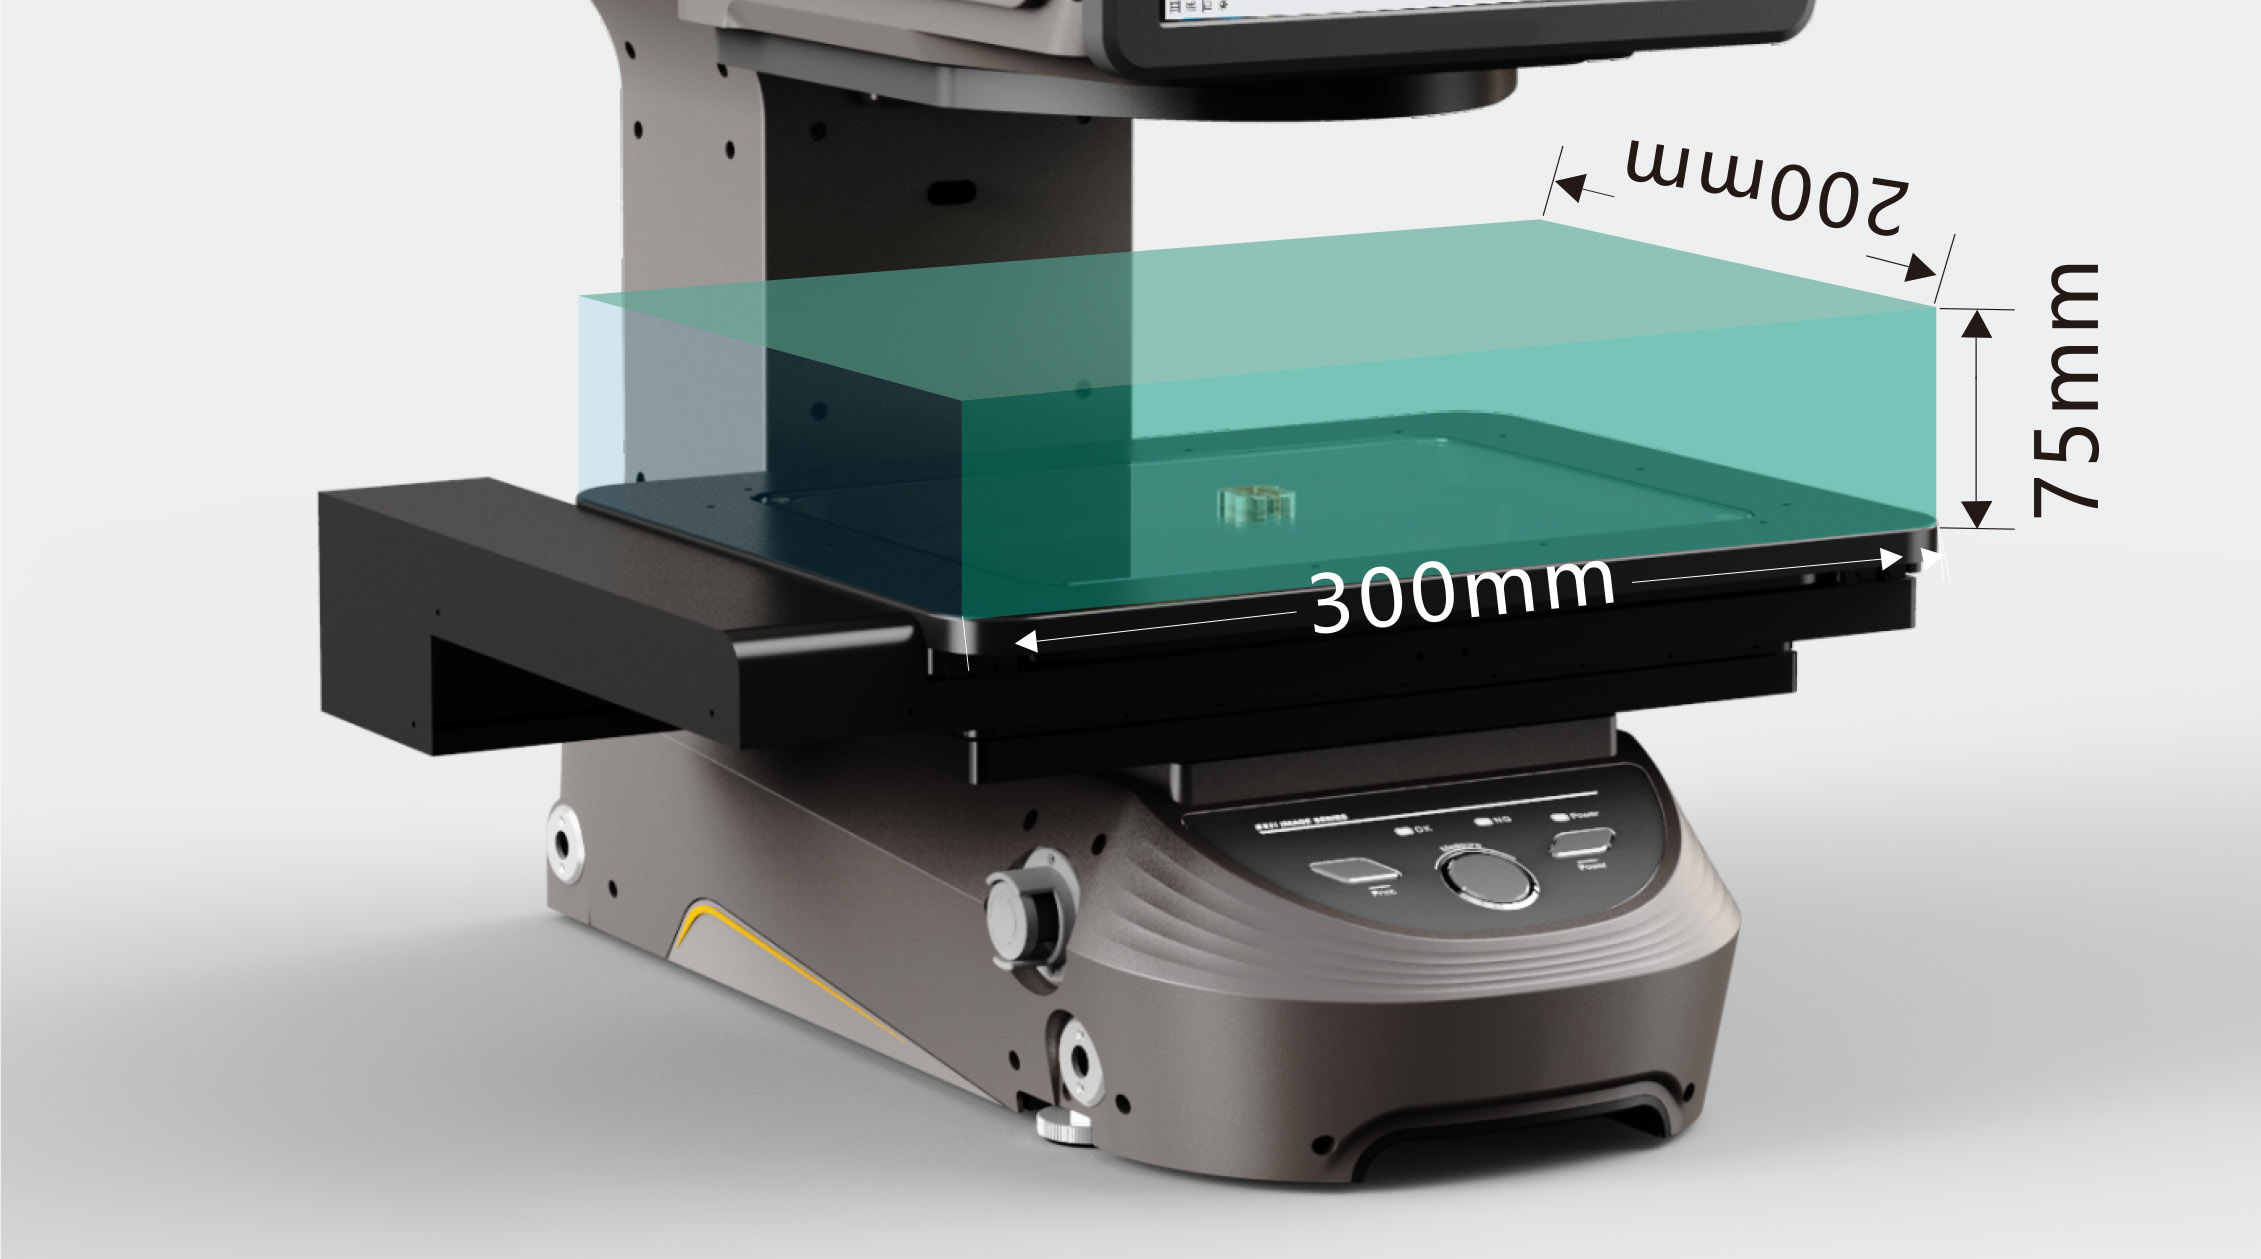
Work Platform I Maximum measuring area 300mm*200mm
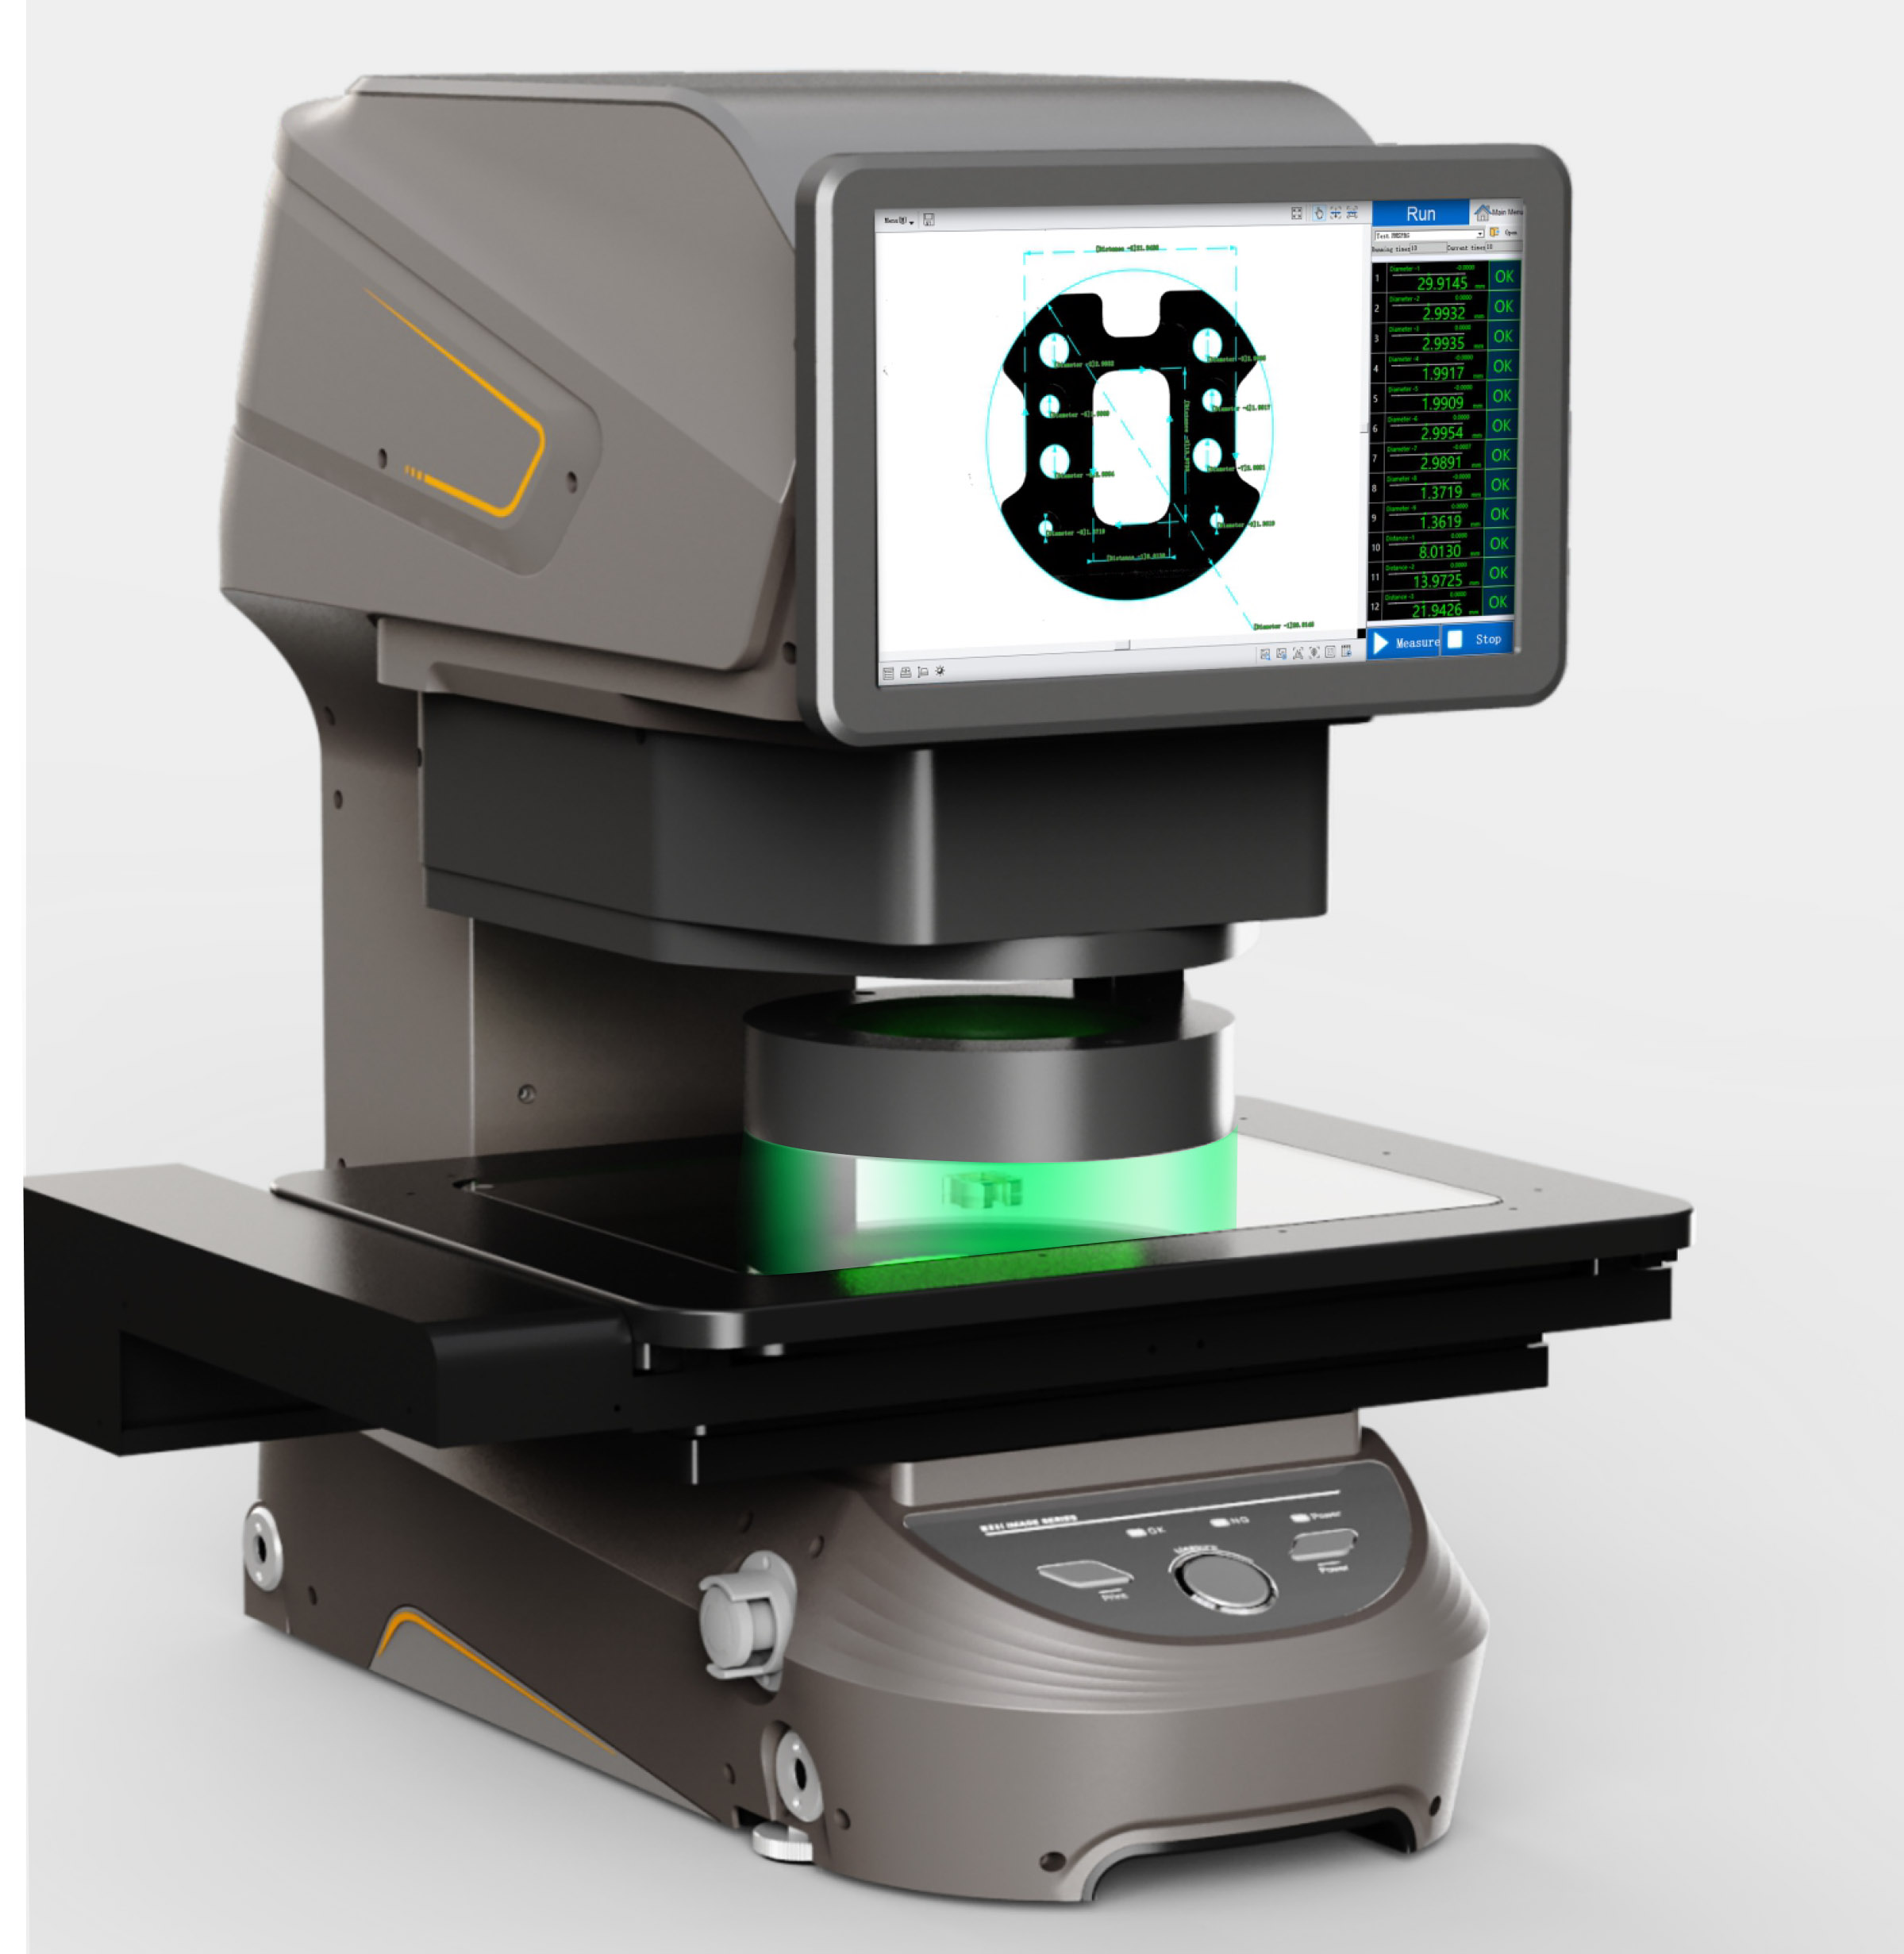
Fast Measurement With A Measuring Field 300mm*200mm Is Twice The Speed Of The Traditional Model
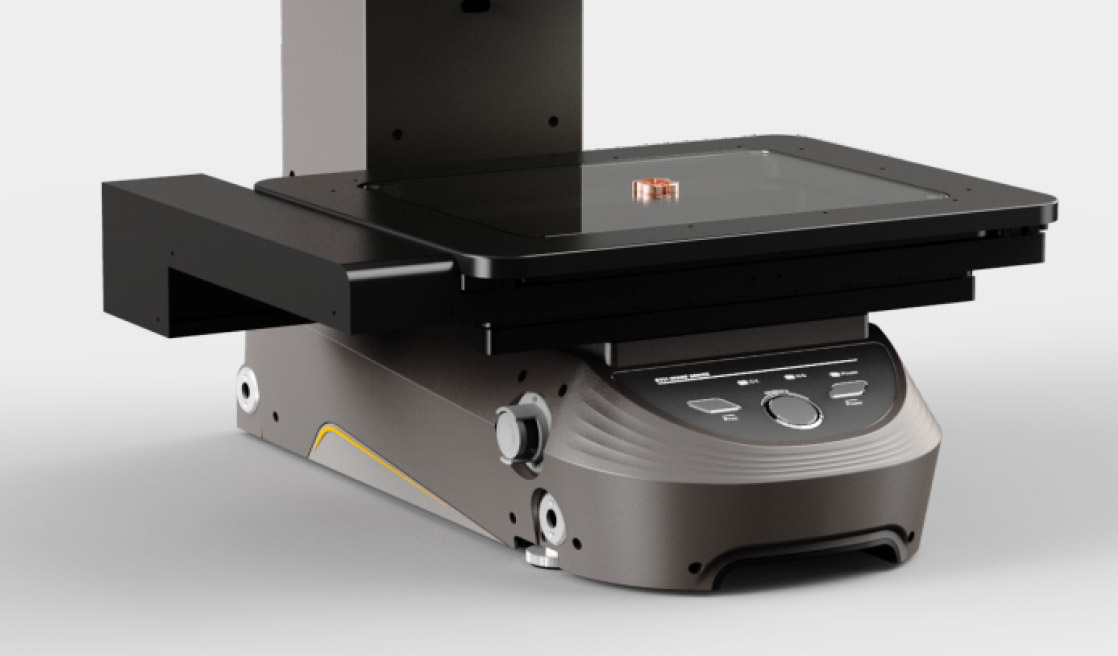
The movement platform support measuring objects with a maximum size of 300 mm x 200 mm and a height of 75 mm.
It adopts a new design that reduces the resistance of the motor and the feed screw, and the moving distance becomes smaller and more stable, which eliminates the need to fixed the measurement objects.
High-precision Actuate System Support
By adjusting the movement of the cross roller guide in micrometers, excellent linearity is achieved and errors caused by the movement of the movement platform are eliminated.

Light Source | Variable Lighting Unit
Accurately extracts edges according to the best lighting conditions

Multiple Lighting Units Are Assembled Into One
The light source integrates different lighting, according to the different products to be tested, the brightness of the light is automatically adjusted, and the lighting conditions of the best color are switched, without the need to change other light sources to adapt to different products.
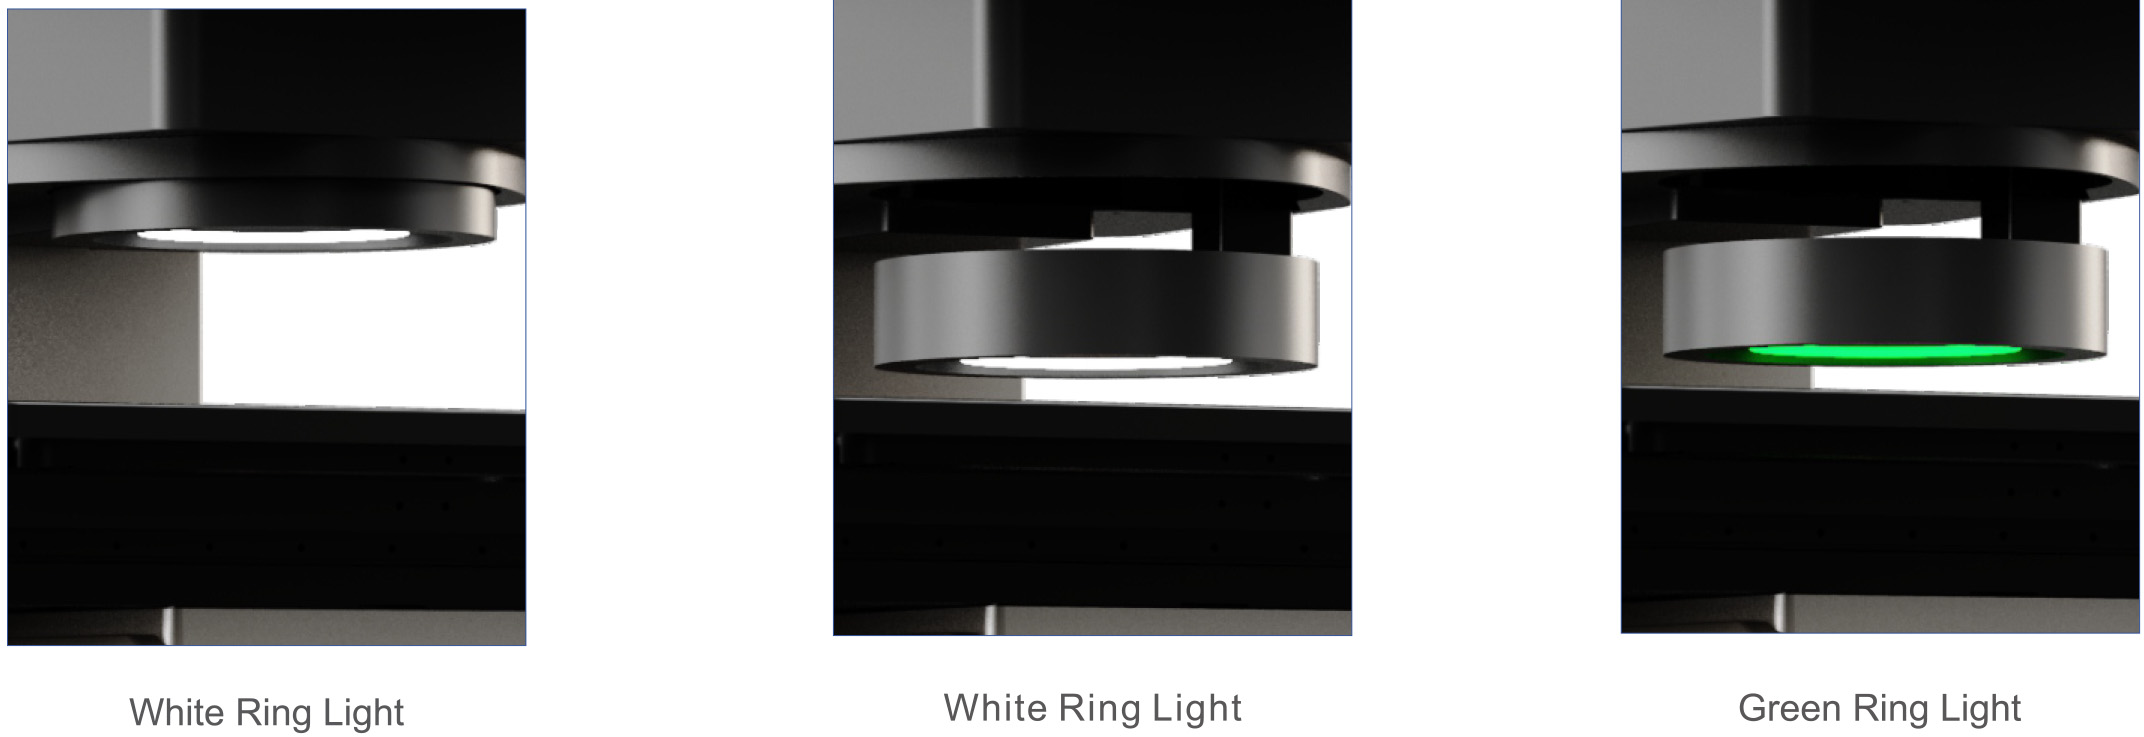
Automatically Adjusts To The Best Lighting Conditions
Combine multiple adjustable lighting units, and adjust the height, brightness and angle of the system’s light source to achieve the best visual effect through the built-in brightness sensor for different ambient lighting, and to accurately achieve the edge of the physical object.

Principle Of Variable Lighting Unit
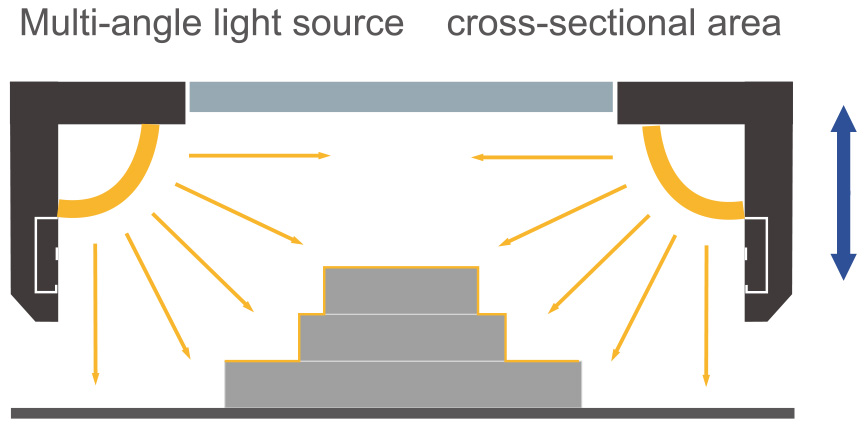
Illuminate in a wide range. When placed in a higher position, the overall illumination is uniform. As the position decreases, contrasts between light and dark will appear due to the height difference
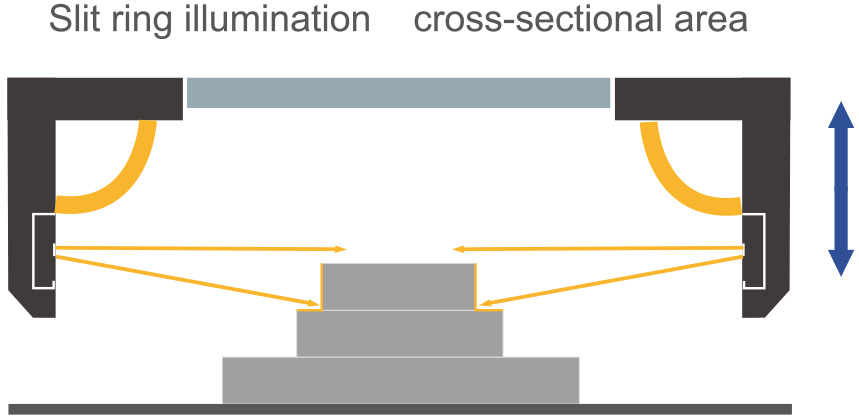
The thin ribbon light is irradiated from the horizontal direction, and the lighting unit is placed at a certain height of the edge to be detected, and a sharp contrast can be formed at the target position.
Show Cases
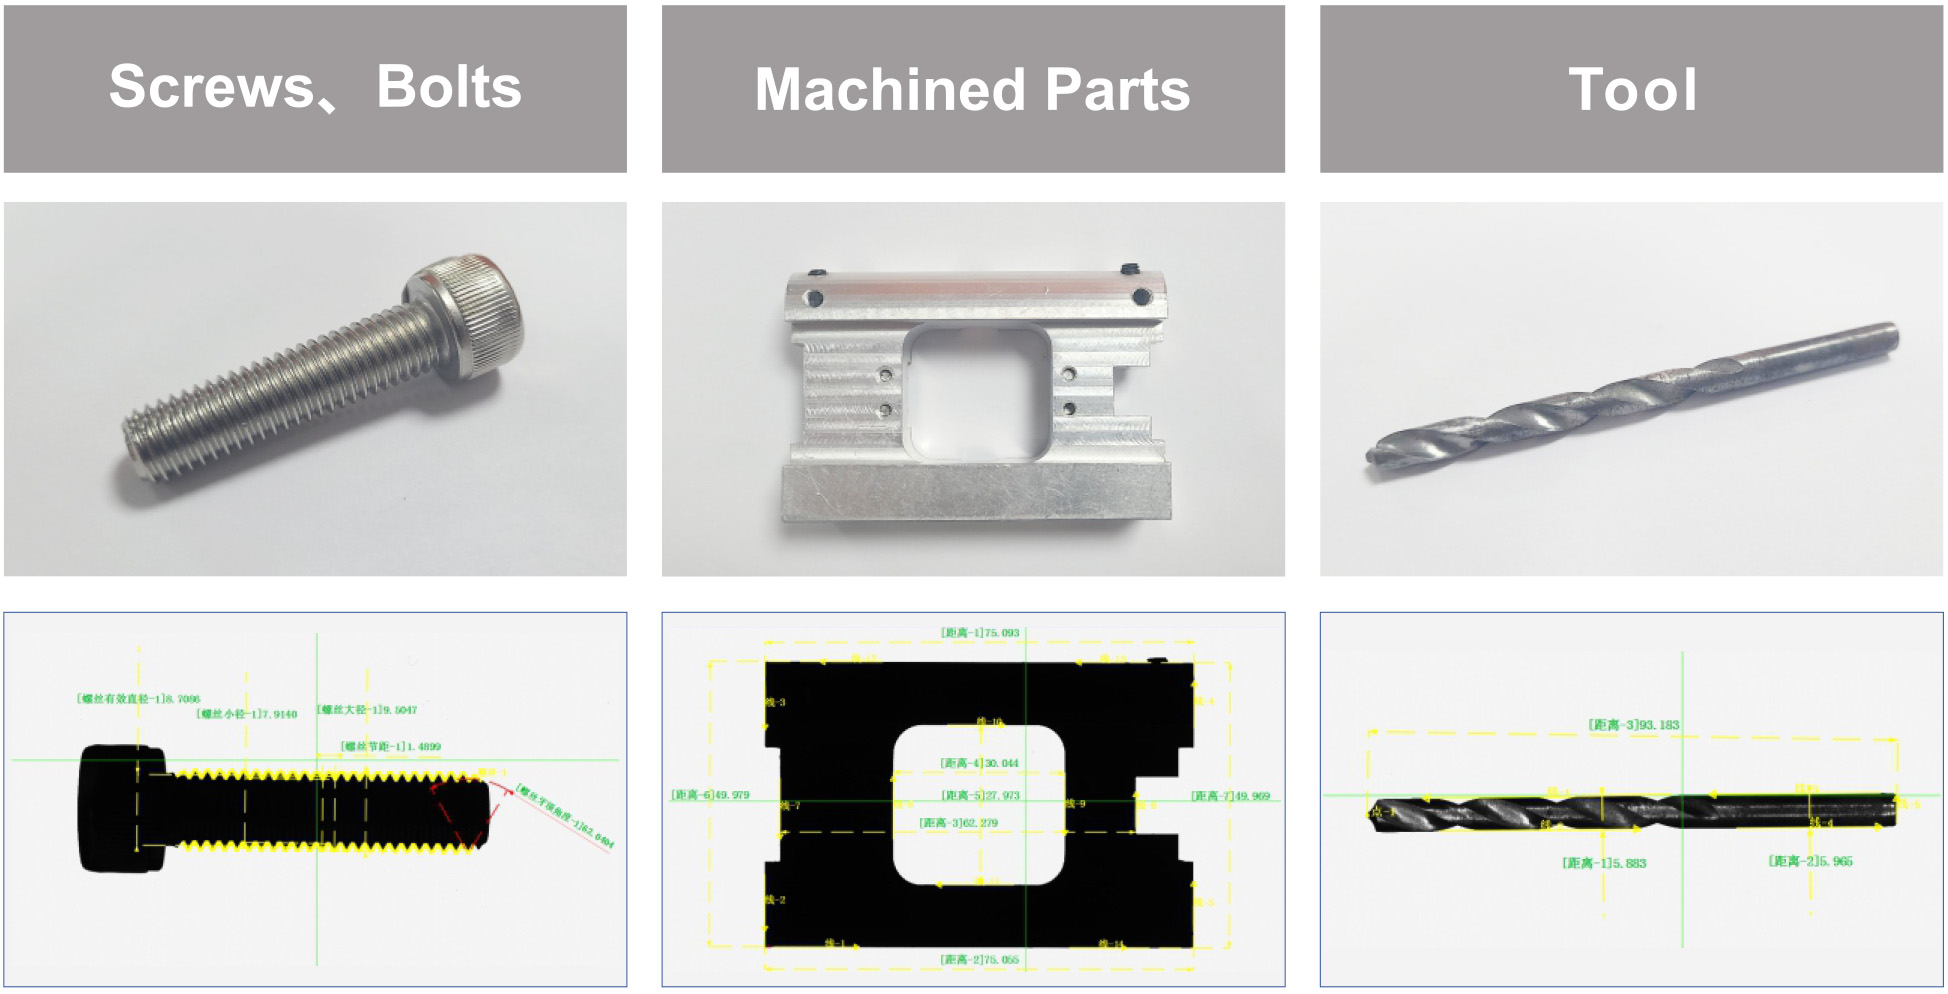
Applications
Models
At present, IMAGE 3 series has 3 models: standard type and movement platform type.
The measuring range of IMAGE3: 1). Φ100; 2). 200mmX200mmX75mm; 3). 300mmX200mmX75mm.
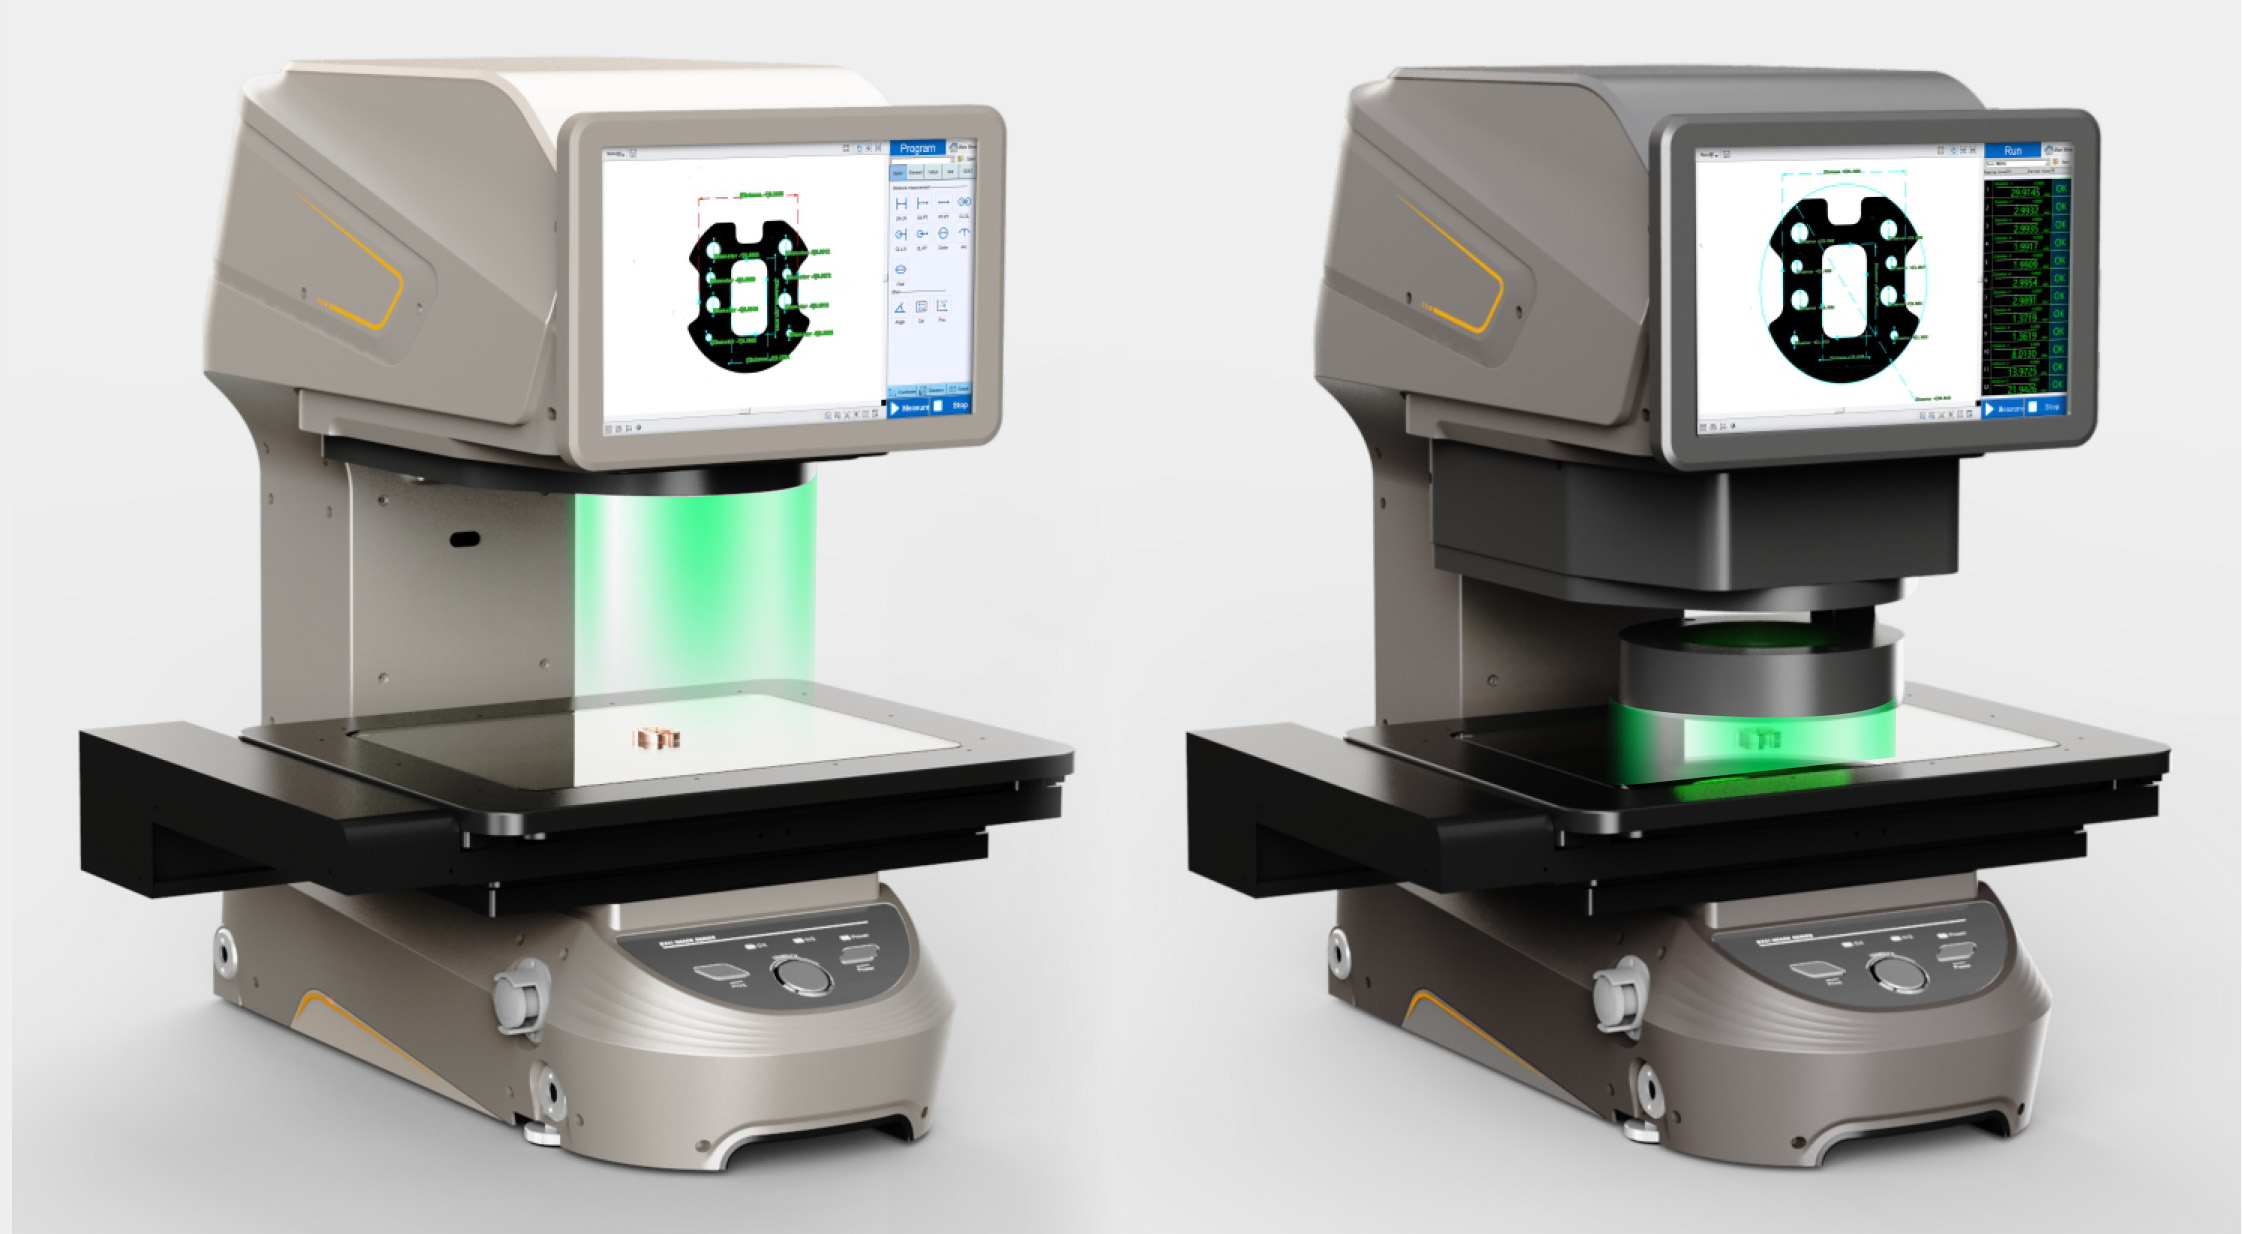
| IMAGE 3 | IMAGE 3 Plus | IMAGE 3 Pro |
| ● Measuring Range (mm): <D100mm
●Ring Lighting (Variable Lighting) ● Auto Focus ● ICOE Double-magnification Double Telecentric Lens |
● Measuring Range (mm): 200X200X75
● Ring Lighting (Variable Lighting) ● Auto Focus ● ICOE Double-magnification Double Telecentric Lens |
● Measuring Range (mm): 300X200X75
● Ring Lighting (Variable Lighting) ● Auto Focus ● ICOE Double-magnification Double Telecentric Lens |
Datasheet of Image Dimension Measurement System IMAGE 3 SERIES
| Model | IMAGE 3 | IMAGE 3 Plus | IMAGE 3 Pro | ||
| Measuring Range | X | Φ100 | 200mm | 300mm | |
| Y | 200mm | 200mm | |||
| Z | 75mm | 75mm | 75mm | ||
| Lens Field of View | High Precison Measurement Mode | 26mm x 18mm | |||
| Wide FOV Measurement Mode | Φ100 | ||||
| Repeatitive Accuracy | High Precison Measurement Mode | ±1.5μm | |||
| Wide FOV Measurement Mode | ±3μm | ||||
| Min. Display Unit | ±0.1μm | ||||
| Measurement Accuracy | High Precison Measurement Mode | Not Connected | ±1.5μm | ||
| Connected | / | ±2+L/150μm | ±2+L/150μm | ||
| Wide FOV Measurement Mode | Not Connected | ±3μm | |||
| Connected | / | ±3+L/150μm | ±3+L/150μm | ||
| Instrument Weight | 33kg | 45kg | 50kg | ||
| Optical System | Camera | 1″ 20MP Black and White Camera x 2 | |||
| Lens | Double Magnification Double Telecentric Lens | ||||
| Surface Light | Two-Ring Adjustable Light Source | ||||
| Back Light | Green Parallel Bottom Light | ||||
| Work Stage Load | 5kgs | ||||
| Measuring System | AI-Image (Indenpendently Developed) | ||||
| Power Supply | 220V±10%, 50Hz | ||||
| Working Environment | Temperature: 20士3°C; Temperature: 30-80% (No Condensation); Vibration: <0.002g,15HZ | ||||
| Dimensions (L x W x H) (mm) | 600 x 300 x 650mm | 600 x 410 x 650mm | 600 x 510 x 650mm | ||
* Be comparable to KEYENCE Image Dimension Measurement System IM-8000, IM-7000

